The holiday season used to leave our townhouse looking like a shipping warehouse. Wrapping paper leaned against the wall, ribbons disappeared every time I needed them, and gift bags somehow ended up in three different closets. By Christmas morning, I had spent more time hunting for tape than wrapping presents.
Living in a 1,050-square-foot townhouse outside Denver means every square foot matters. We don’t have a craft room or a finished basement where I can leave a wrapping station set up all year. Every project has to fit into the space we already have. After several holiday seasons of trial and error, I finally built a gift wrapping station small space solution that keeps everything organized without taking over our home.
The first version wasn’t great. I bought a rolling cart that looked perfect online, but it blocked the hallway every time we walked past it. Then I tried storing wrapping paper under the guest bed, only to discover that our cat, Miso, thought the ribbons made excellent toys. After a few frustrating weekends and one extra trip to Home Depot, I found a setup that fits our lifestyle instead of fighting against it.
If you’re short on storage but still want gift wrapping to feel organized instead of stressful, here’s the system that worked in our townhouse. None of these ideas require a dedicated craft room, and most of them cost far less than buying specialty storage furniture.
Start With One Dedicated Storage Zone
The biggest mistake I made was spreading wrapping supplies throughout the house. Scissors lived in the kitchen, gift tags stayed in my desk drawer, tissue paper filled a bedroom closet, and tape somehow disappeared every December.
Once everything had one home, wrapping gifts became much easier.
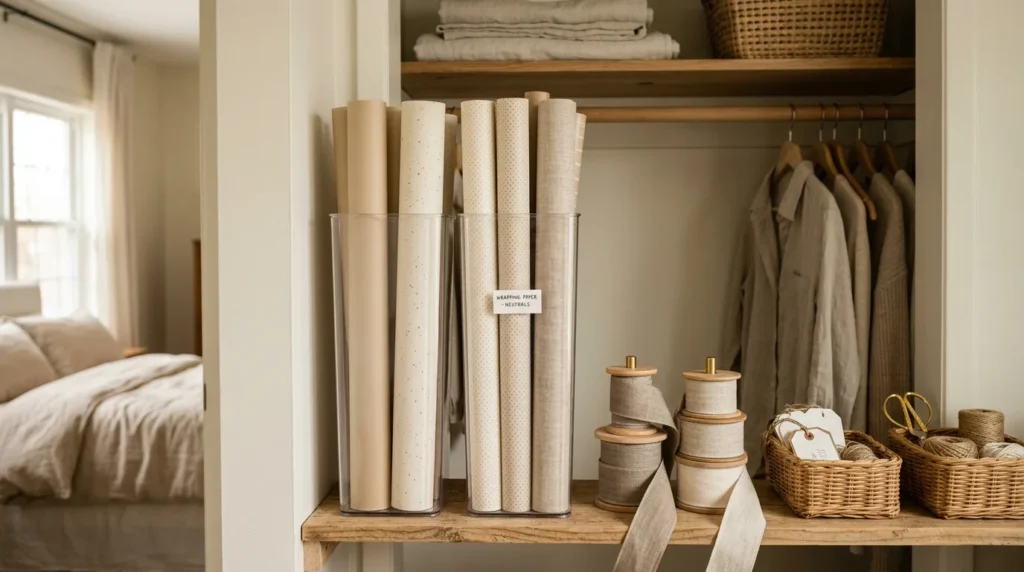
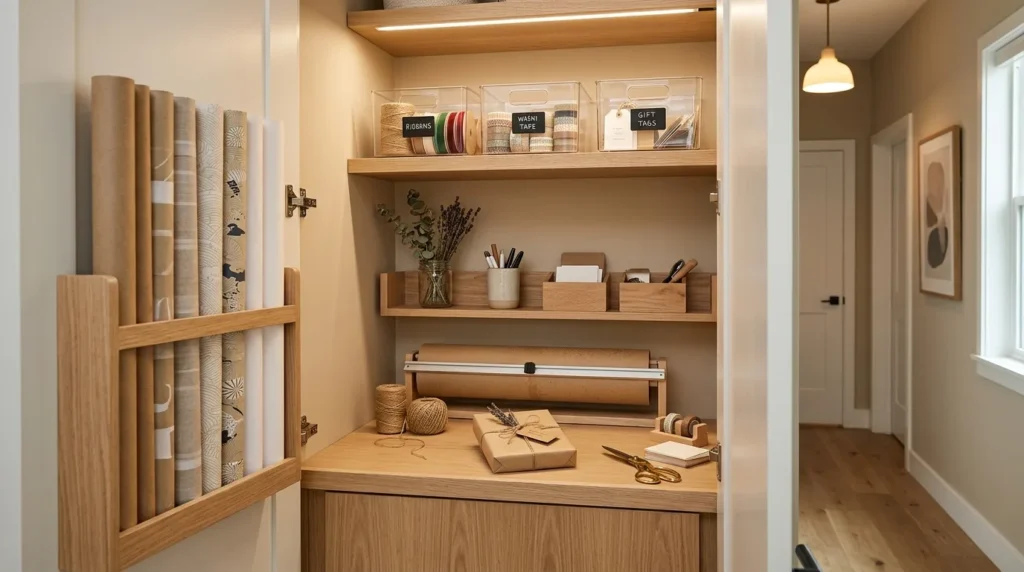
In our townhouse, I cleared one shelf inside the hallway closet. It’s not a large shelf, but it holds nearly everything I need because every item has a purpose. Instead of buying storage containers for every category, I reused a few sturdy boxes and added inexpensive clear bins from Target that cost around $12 each.
Keeping everything together also saves time after the holidays. Rather than stuffing leftover supplies wherever they fit, I simply return each item to the same shelf.
If you don’t have a hallway closet, another good option is the top shelf of a bedroom closet or a cabinet above the laundry machines. The goal isn’t finding the biggest storage area. It’s choosing one location you’ll remember every year.
A smaller storage zone also forces you to buy only what you’ll actually use. Before, I collected wrapping paper simply because it looked pretty. Now I purchase a few quality rolls in neutral patterns that work for birthdays, holidays, and special occasions.
That change alone reduced clutter more than any storage product ever did.
Choose Furniture That Works All Year
I almost spent more than $180 on a storage cabinet marketed specifically for gift wrapping. Looking back, I’m glad I didn’t.
Furniture with only one purpose rarely earns a place in a modest home.
Instead, I looked for pieces that already served another function.
Our slim IKEA shelving unit now stores photo albums, office supplies, and wrapping materials together. During December, I simply move one basket to the dining table when it’s time to wrap presents.
The setup takes less than two minutes.
Another option I considered was a narrow rolling cart from IKEA. It fit the measurements perfectly, but once assembled, I realized it extended too far into the walkway. That’s one purchase I returned before removing the tags.
That experience reminded me to measure every hallway, doorway, and corner before buying furniture online.
If your budget allows around $80 to $120, a narrow cabinet with adjustable shelves gives you flexibility throughout the year.
For a lower-cost solution, sturdy storage cubes from Target or fabric bins from HomeGoods work surprisingly well. They don’t look fancy, but they keep everything together and slide neatly into closets when the holidays end.
The best storage piece is the one you’ll continue using in February, not just December.
Store Wrapping Paper Vertically Instead of Horizontally
Wrapping paper caused the biggest headache in our home.
For years, I slid long rolls under the bed. Every time I needed one, dust covered the ends, the paper bent in the middle, and finding the right pattern meant pulling out every single roll.
Eventually I switched to vertical storage.
I bought a tall plastic storage container from Home Depot for about $24. It fits inside the corner of our bedroom closet and holds more than a dozen wrapping paper rolls without crushing them.
Standing the rolls upright also makes it much easier to see colors and patterns.
One lesson came the hard way.
I cut a piece of PVC pipe to organize ribbons beside the container, but I measured too quickly. The pipe ended up nearly two inches shorter than I needed, so everything kept sliding off the end.
That mistake meant another drive to Home Depot and another afternoon spent fixing a project that should have taken twenty minutes.
Now I always measure twice before cutting anything.
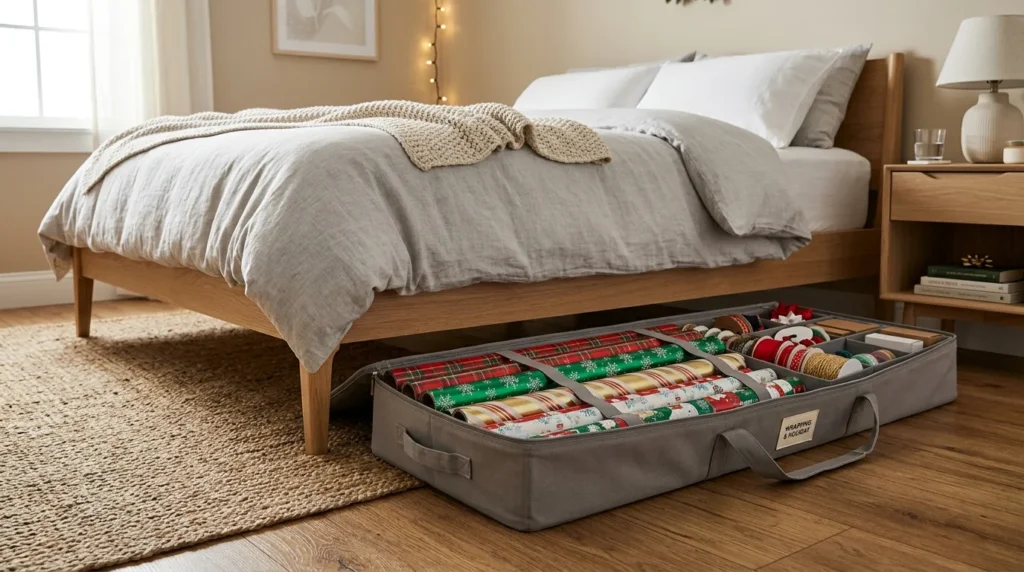
If your closet has limited height, look for an under-bed wrapping paper case instead. Many zip closed to keep dust away, and they slide out easily when needed.
The important part isn’t the storage product itself. It’s protecting the paper from wrinkles while keeping it easy to reach.
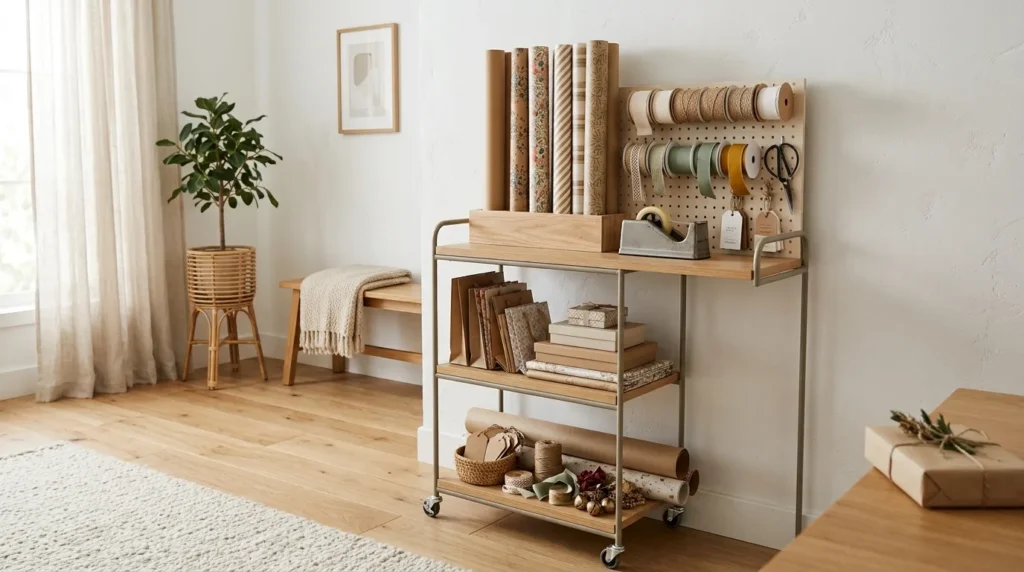
Build a Folding Wrapping Station Instead of a Permanent One
One reason our first organization attempt failed was trying to dedicate permanent space to wrapping gifts.
We simply don’t have room for that.
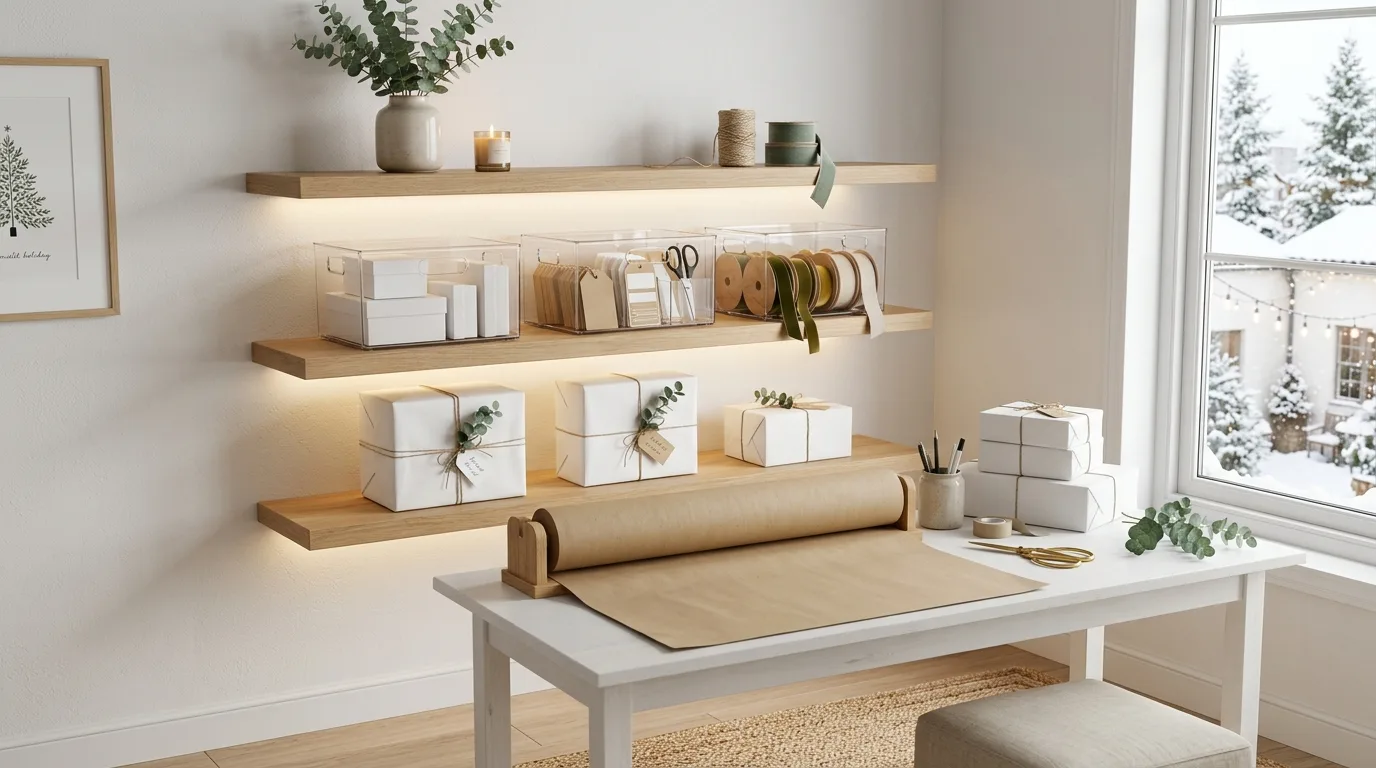
Instead, I created a folding station that comes together only when needed.
Everything begins with our dining table. I lay down a felt table protector to prevent scratches, then carry over one storage bin with tape, scissors, ribbon, gift tags, bows, and markers.
The wrapping paper container sits beside the table.
Within five minutes, the room becomes a functional wrapping area.
After the gifts are finished, everything returns to the closet before dinner.
No furniture stays out.
No corner remains cluttered.
This approach also makes cleanup much easier because every item already has a designated storage spot.
One small DIY improvement helped even more.
I attached removable adhesive hooks to the inside of the closet door to hold scissors and ribbon spools. The first hooks fell off after a week because I skipped cleaning the surface before sticking them on. After wiping the door with rubbing alcohol and installing new hooks, they’ve stayed secure for more than a year.
Sometimes the smallest projects teach the biggest lessons.
Another benefit of a temporary wrapping station is flexibility. During birthdays, I use only half the supplies. During Christmas, I bring everything out. The system adjusts to the season without taking over valuable living space for the rest of the year.
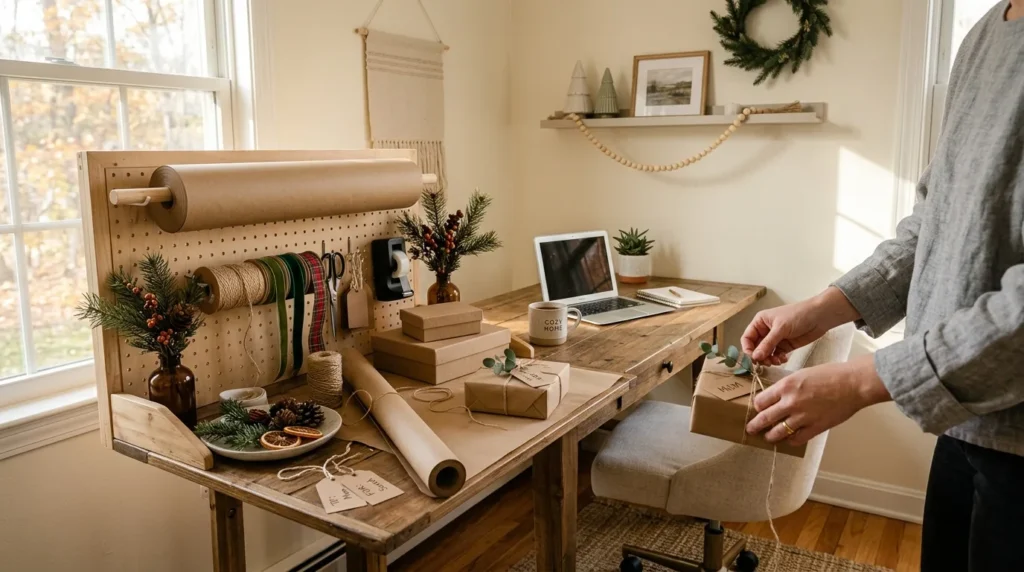
Keep Everyday Supplies Simple and Easy to Replace
Once I finished organizing the storage, I realized another problem. I owned far more wrapping supplies than I actually used. Every year I bought another ribbon, another pack of bows, and another roll of themed paper because they looked nice in the store. Most of those items stayed unopened.
Now I follow a much simpler approach.
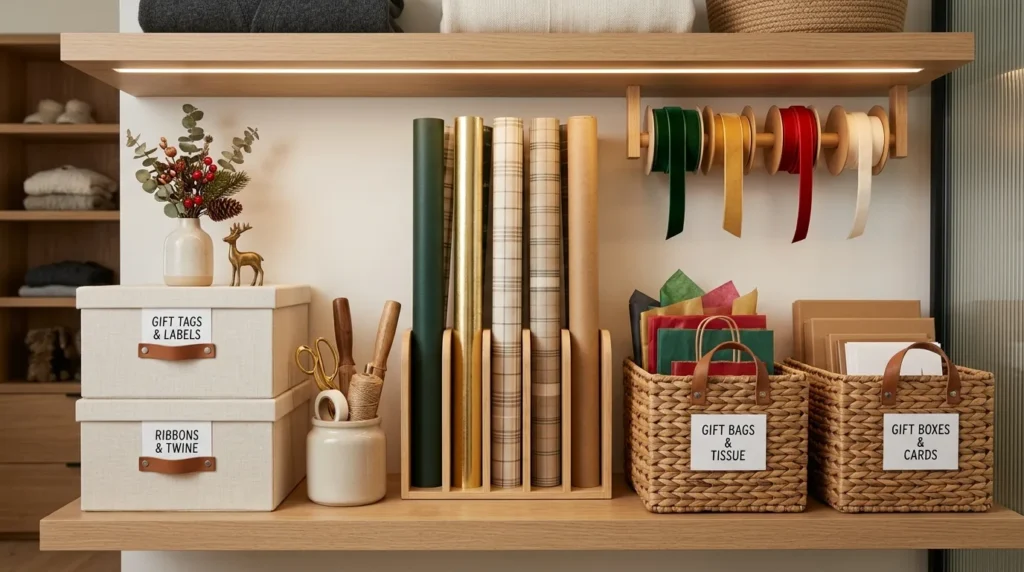
I keep one good pair of scissors, two tape dispensers, a black marker, a silver marker, neutral gift tags, kraft paper, white tissue paper, and a handful of ribbon colors that work for almost every occasion. Gold, white, green, and red cover nearly everything from birthdays to Christmas.
That change reduced clutter immediately.
It also saved money. Instead of spending $80 or more replacing trendy supplies every season, I usually spend around $25 to $40 filling in what I’ve used.
Storage becomes much easier when every item has a purpose.
If I haven’t used something in two holiday seasons, I donate it or recycle it if possible. That simple rule keeps my wrapping station from growing into another overcrowded closet.
For anyone decorating and organizing a smaller home, fewer supplies usually create a cleaner and more enjoyable workspace.
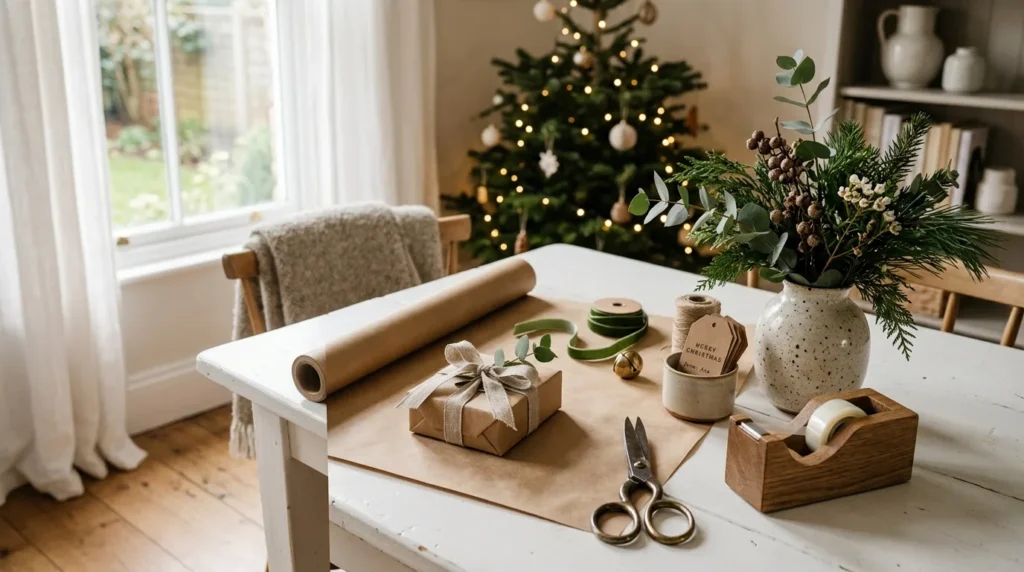
Make the Station Work Beyond the Holidays
One reason this setup has lasted is that it isn’t just for Christmas.
Throughout the year, I use the same storage area for birthdays, Mother’s Day, Father’s Day, baby showers, weddings, and housewarming gifts. Since everything stays organized, I never scramble to buy supplies at the last minute.
I also keep a small notebook inside one storage bin. Whenever I notice wrapping paper running low or I finish a roll of tape, I write it down. The next time I’m shopping at Target or HomeGoods, I already know what I need.
That habit prevents duplicate purchases.
It also helps me wait for seasonal sales instead of paying full price in December.
Living outside Denver has taught me another lesson. Our dry climate can make paper brittle if it sits in direct sunlight for months. I keep wrapping supplies inside a closet instead of near windows, and the paper stays in much better condition.
It’s a small detail, but it has helped expensive wrapping paper last much longer.
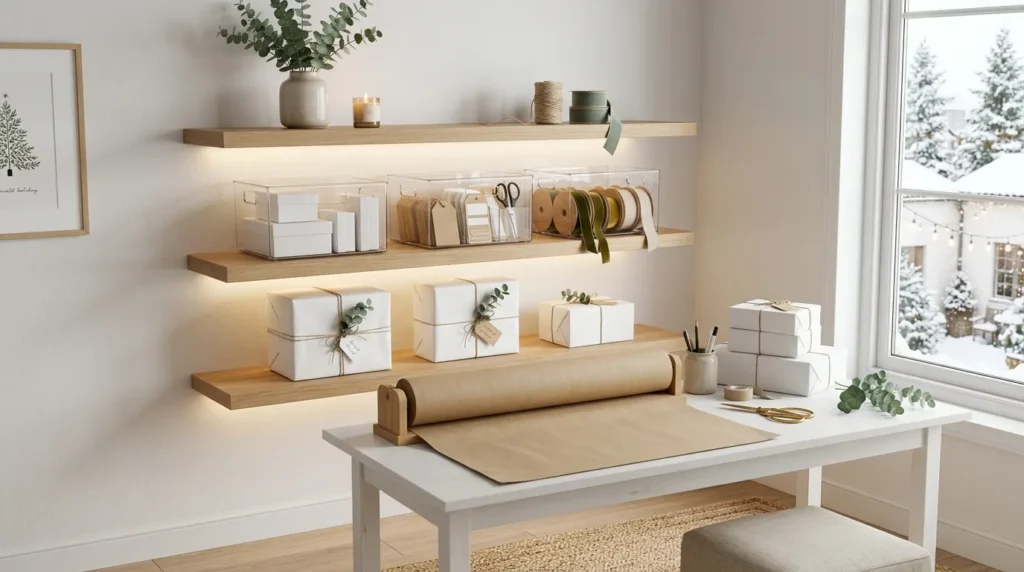
Small Details That Made the Biggest Difference
After using this system for several holiday seasons, I’ve noticed that little improvements often matter more than expensive storage furniture.
Adding labels to each storage bin means Ethan can find tape or gift bags without asking where I moved them.
Keeping a small trash bag nearby during wrapping sessions makes cleanup much faster.
Leaving a few inches of empty space inside every storage container also helps. Packed bins become frustrating because you have to remove everything just to reach one item.
Lighting matters more than I expected too.
Our dining room receives strong afternoon sunlight, which makes wrapping easier than working in the darker office. During evening wrapping sessions, I switch on a warm 2700K floor lamp instead of relying only on the ceiling fixture. The colors of ribbons and paper look much more natural, and I make fewer cutting mistakes.
One final change has probably saved me the most time.
I keep a small envelope filled with blank gift tags from previous years. Instead of buying new ones every holiday season, I use what I already have first. It’s a simple habit, but it keeps supplies under control and reduces waste.
Common Pitfalls to Avoid
Creating a gift wrapping station small space setup doesn’t require expensive furniture, but a few mistakes can make the process frustrating.
The first is buying storage before measuring your available space. I nearly kept that oversized rolling cart simply because returning it felt inconvenient. Thankfully, I measured again before opening every package.
The second mistake is organizing supplies into too many categories. Five different boxes for ribbons, bows, tags, stickers, and tape looked organized at first, but finding anything took longer than wrapping the gift itself.
Another common problem is storing wrapping paper where moisture or sunlight can damage it. Closets usually work much better than garages or unfinished basements.
If you have children or curious pets, avoid leaving scissors, craft knives, or hot glue guns within reach. Store sharp tools in a secure container after every wrapping session. A little extra care makes holiday projects much safer.
Most importantly, don’t feel pressured to create a picture perfect wrapping station you saw online. Those beautiful craft rooms often have far more space than most of us do.
Build a system that fits your home instead of copying someone else’s.
A Gift Wrapping Station That Fits Real Life
After living in our 1,050 square foot townhouse for several years, I’ve learned that good organization isn’t about buying more storage products. It’s about giving every item a clear home and making everyday routines easier.
My gift wrapping station small space setup isn’t elaborate, but it works every holiday season without taking over our home. Everything fits inside one closet, cleanup takes only a few minutes, and I spend more time enjoying the season instead of searching for tape or untangling ribbon.
If you’re planning your own wrapping station this year, start with the space you already have instead of wishing for a larger house. Measure carefully, buy only what you need, and don’t be afraid to adjust the system after the holidays. The best organization ideas are the ones that continue working long after the decorations are packed away.