The first Christmas after Ethan and I bought our 1,050 square foot townhouse in 2022, I made a mistake that taught me an important decorating lesson. I ordered a beautiful seven foot Christmas tree without measuring our living room first. It looked perfect in the online photos, but once we set it up, the tree blocked the walkway, covered part of the window, and made the entire space feel cramped. Instead of enjoying the holiday season, we spent the afternoon moving furniture and wondering how to make everything fit.
After living in this home for several Christmases, I’ve learned that a smaller tree often creates a better result. The right size doesn’t just save floor space. It improves traffic flow, leaves room for gifts, and makes the entire room feel brighter and more comfortable. With a few thoughtful decorating choices, even the smallest living room, apartment, or townhouse can feel festive without looking overcrowded.
In this guide, I’m sharing the best small Christmas tree ideas that have worked in our own home through plenty of trial and error. You’ll find practical decorating tips, budget-friendly ideas, and simple DIY inspiration that helps you celebrate the season without sacrificing valuable space. Whether you’re decorating a tiny apartment, a condo, or a modest family home, these ideas will help you create a warm holiday look that feels welcoming from the moment you walk through the door.
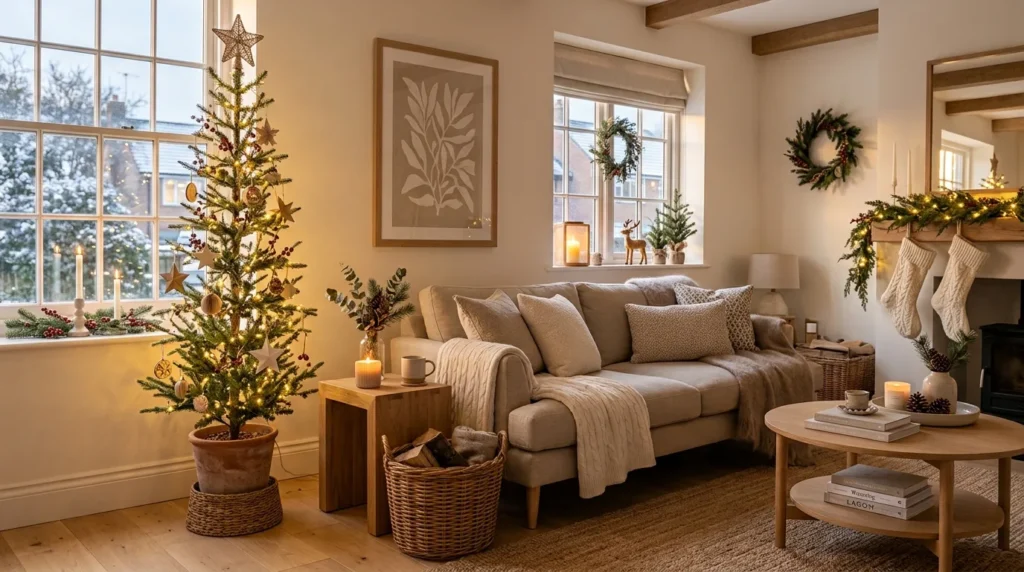
1. Choose a Slim Pencil Tree That Fits Your Room Instead of Fighting It
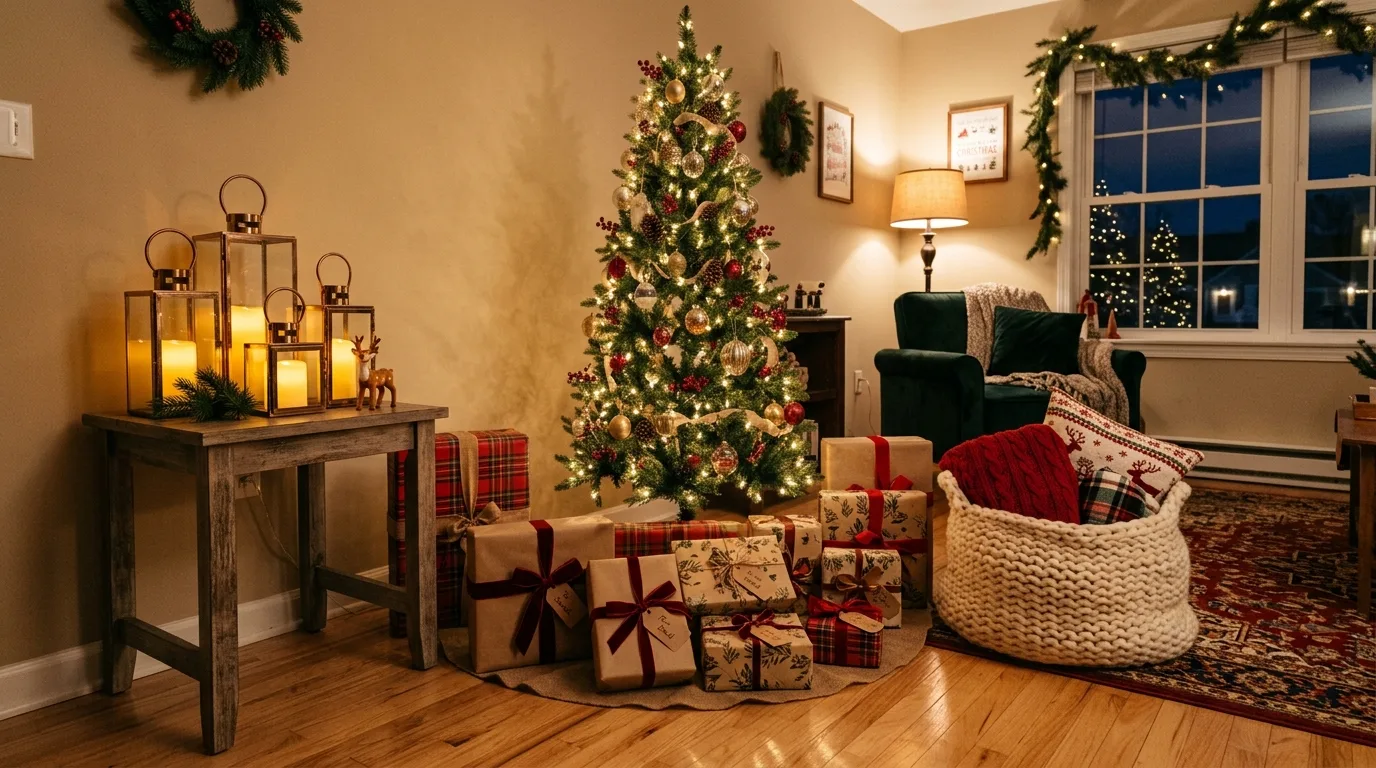
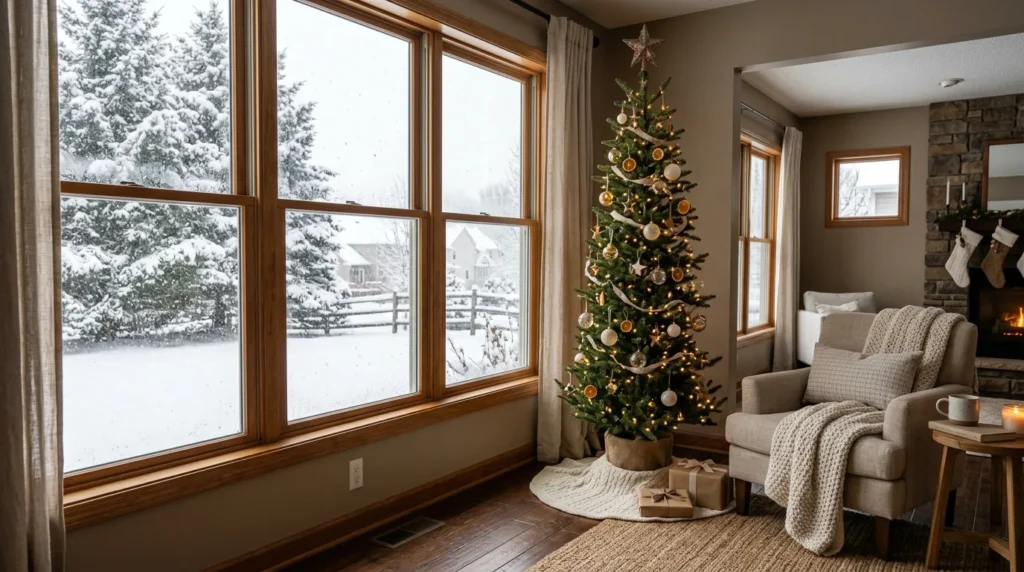
Buying a pencil tree turned out to be one of the smartest decorating decisions I’ve made. Unlike a traditional Christmas tree that spreads several feet across the floor, a slim pencil tree gives you the same festive feeling while leaving much more space to move around comfortably. Ours stands a little over six feet tall, but because it’s much narrower, it fits perfectly beside our TV console without blocking the hallway or making the living room feel crowded.
When shopping for a pencil tree, you’ll find options for almost every budget. Target usually offers attractive artificial trees between $65 and $120, while Home Depot often carries larger selections ranging from $90 to $180. If you’re looking for premium quality with fuller branches, Pottery Barn has beautiful options that generally cost between $150 and $300. Those prices may sound high, but a quality artificial tree can last for many holiday seasons.
I also learned that height isn’t the only measurement that matters. Before buying our second tree, I measured both the ceiling and the available floor space. Our townhouse has 9-foot ceilings on the main floor, so a 6 foot tree looks balanced without overpowering the room. A slightly shorter tree with carefully placed ornaments often looks fuller and more elegant than an oversized tree squeezed into a corner.
If a premium tree isn’t in your budget, IKEA usually carries simple artificial trees and affordable stands that work surprisingly well in smaller homes.
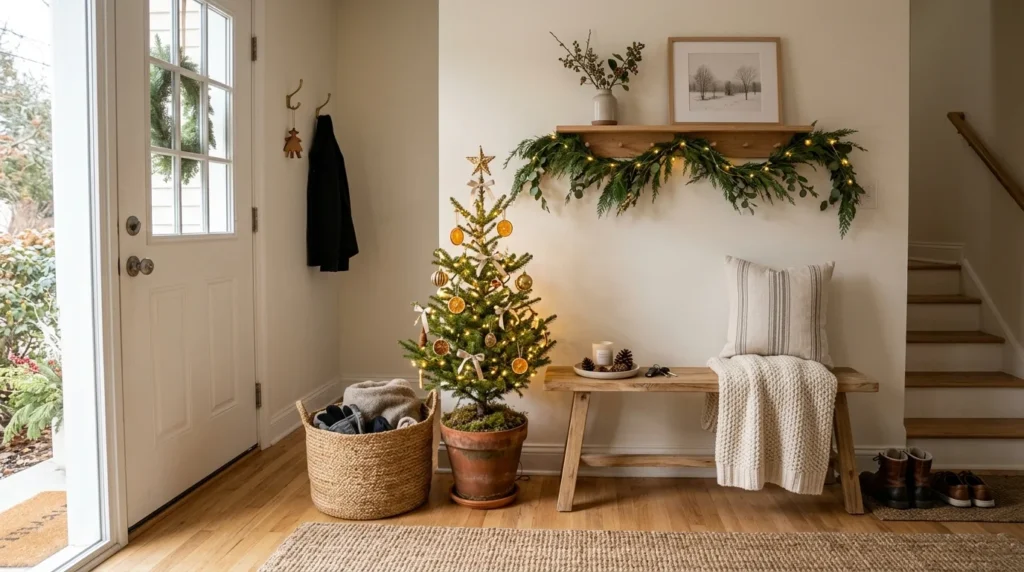
2. Turn a Console Table Into a Beautiful Holiday Display
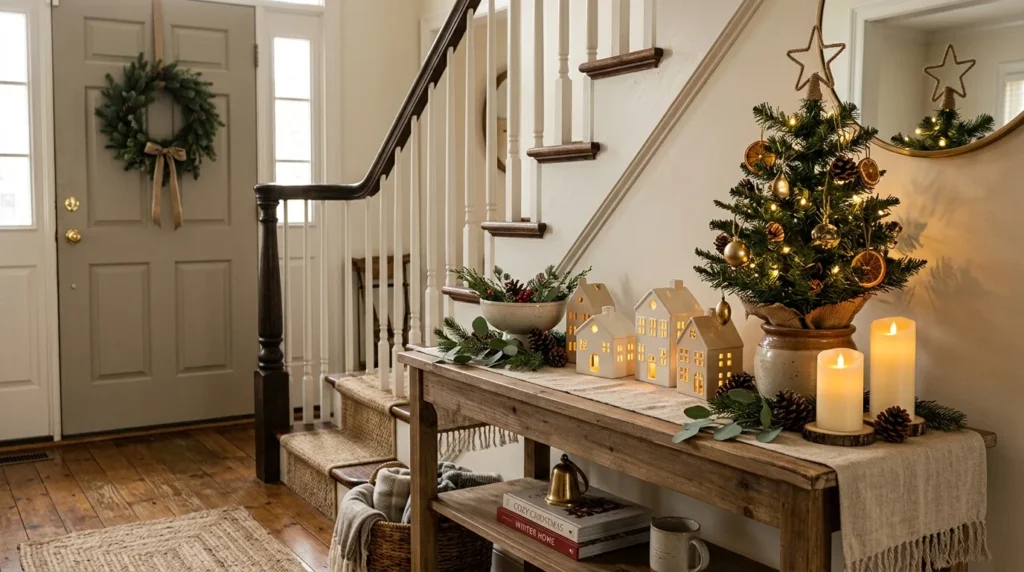
One Christmas, I decided to skip the traditional floor tree altogether. Instead, I placed a three foot artificial tree on our entryway console table, and the difference surprised me. The living room immediately felt more open because nothing occupied the floor, yet guests still noticed the Christmas decorations the moment they walked through the front door.
Rather than filling the table with random decorations, I focused on creating different heights and textures. The small tree became the centerpiece, while battery operated candles added a soft evening glow without the worry of an open flame. A pair of wooden decorative houses introduced warmth, pinecones from Michaels added natural texture, and a woven basket underneath the table provided hidden storage for gift wrap, ribbons, and gift bags. Everything worked together without making the space feel cluttered.
My first attempt wasn’t perfect, though. I originally bought tall candle holders that competed with the tree instead of complementing it. After exchanging them for shorter versions at Target, the entire display looked much more balanced. That small adjustment reminded me that decorating isn’t always about buying more items. Sometimes changing one detail creates a much better result.
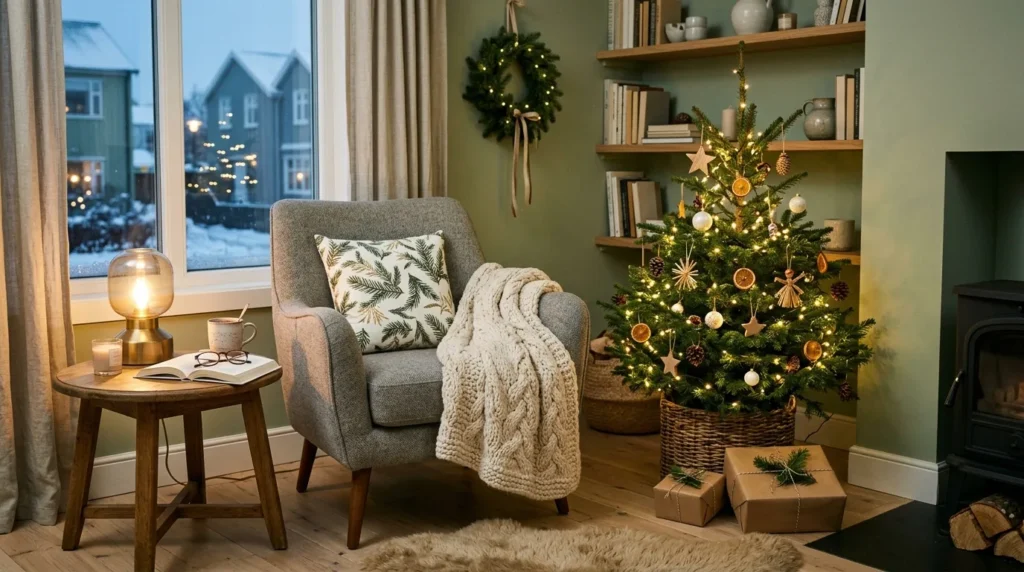
3. Place Your Tree Where It Works Best, Not Where Everyone Else Does
For years, I believed the Christmas tree had to sit directly in front of the largest window because that’s what I always saw in magazines and holiday movies. Once I tried a different arrangement, I realized how much better our living room functioned.
Now our tree sits beside the media cabinet instead of blocking the front window. That simple change gave us wider walkways, easier access to storage cabinets, and much more room whenever family visited during the holidays. It also protected the ornaments from Colorado’s intense afternoon sunlight, which had faded several inexpensive decorations during our first Christmas.
Before assembling the tree each year, I place the empty stand in a few different locations and walk through the room several times. That quick test only takes a few minutes, but it helps me avoid rearranging heavy furniture later. Sometimes the perfect location isn’t the most obvious one.
A well placed tree should make the room feel inviting, not force everyone to squeeze around it.
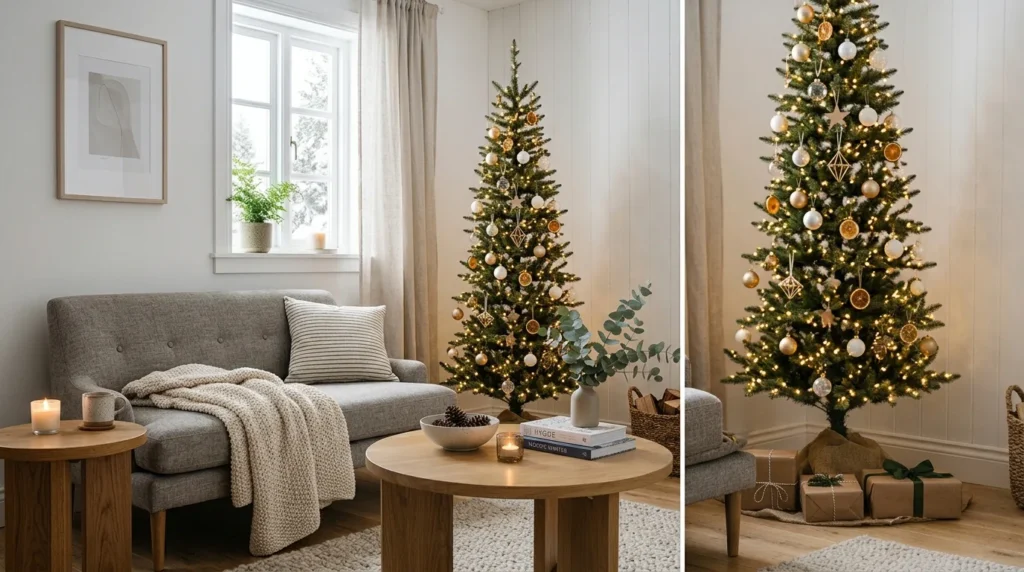
4. Replace the Traditional Tree Skirt With a Decorative Basket
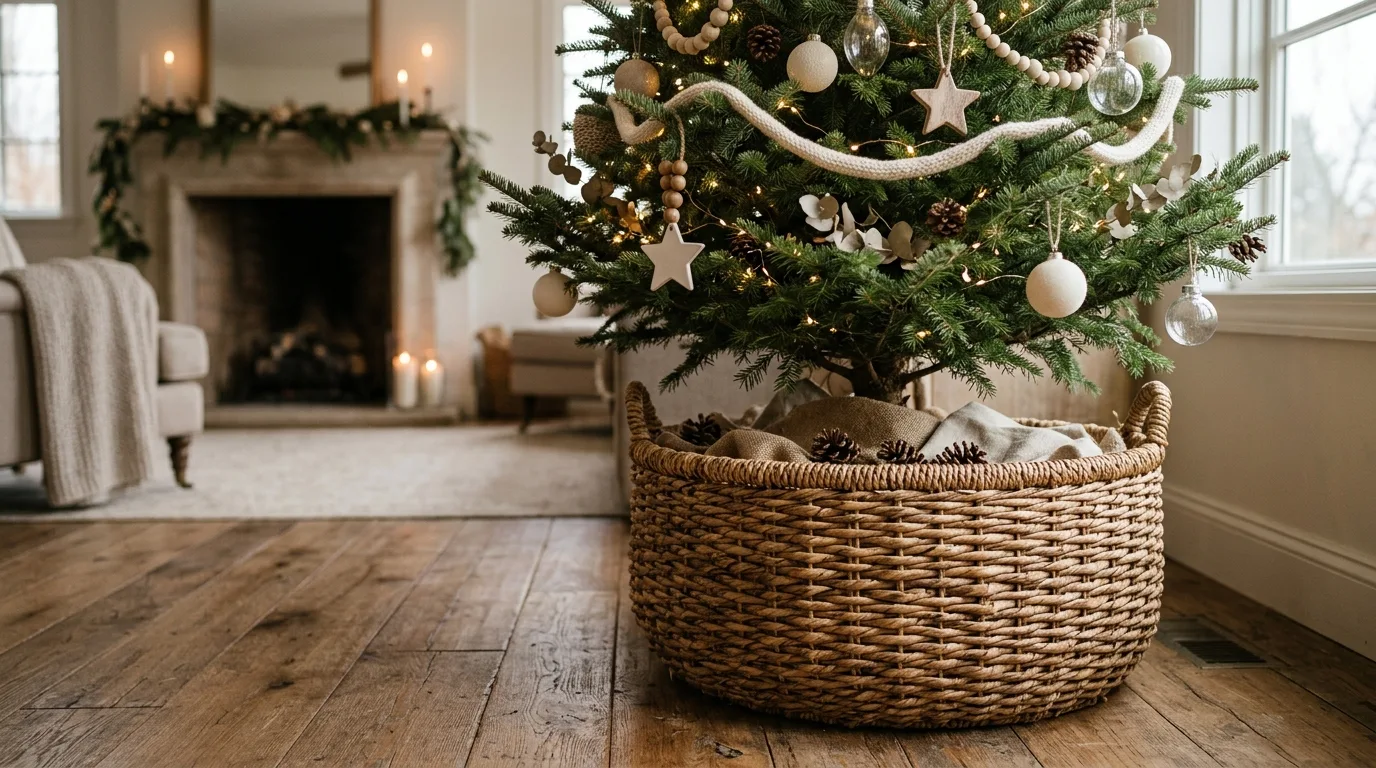
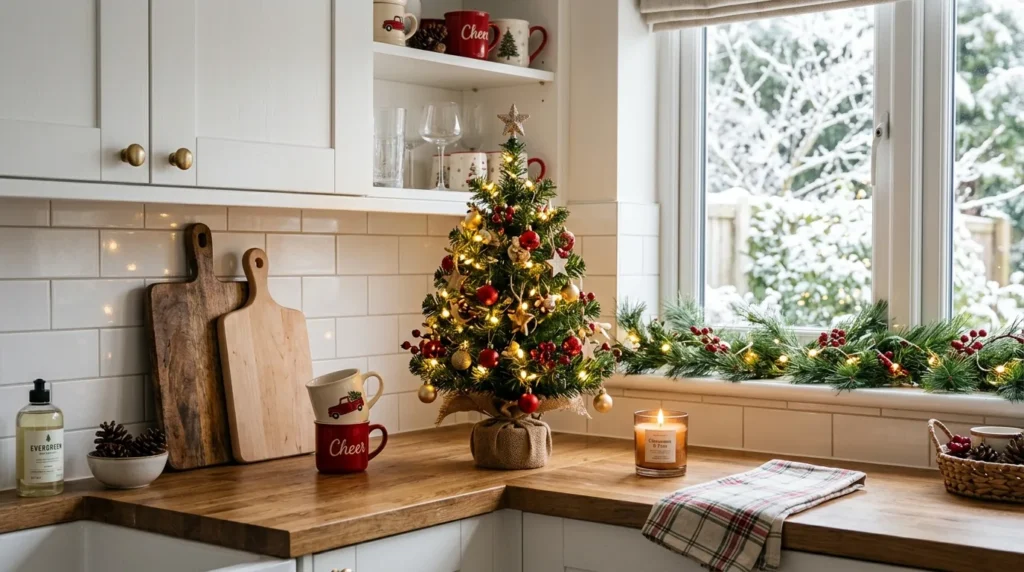
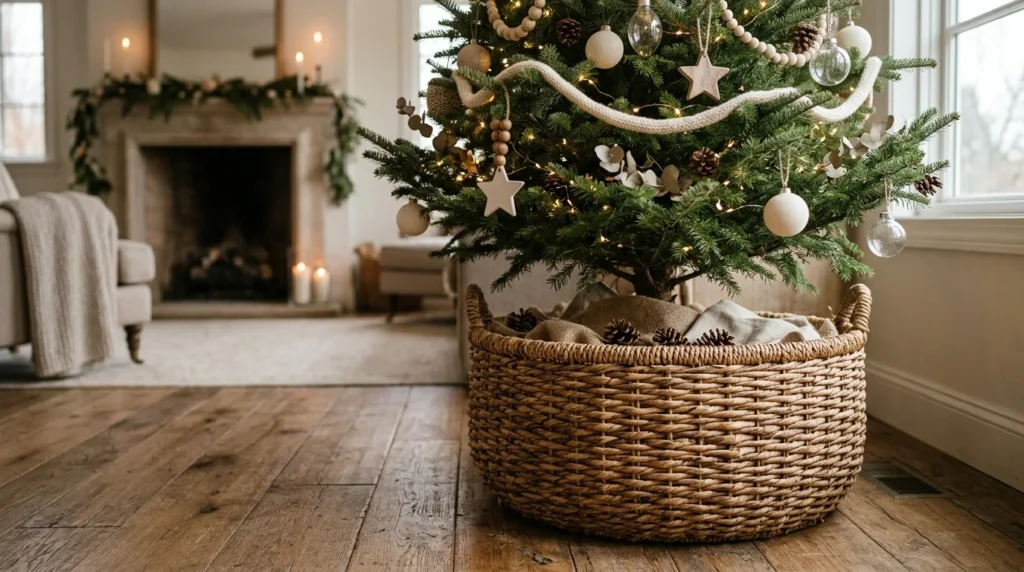
I never realized how much difference a tree base could make until I replaced our fabric tree skirt with a woven storage basket. The basket immediately gave the tree a cleaner appearance while matching the warm wood tones we already use throughout our townhouse.
I found the basket at HomeGoods for about $34, although similar styles usually range between $25 and $45 there. Target often sells comparable baskets for $40 to $70, and Amazon offers plenty of choices around $55, depending on the material and size.
Of course, I made another decorating mistake before getting it right. I bought the first basket without measuring the tree stand, and it ended up being almost two inches too narrow. Back to the store I went. Since then, I always write down measurements before shopping for baskets, planters, or storage containers. It saves time, money, and unnecessary frustration.
The woven texture also adds warmth without requiring additional decorations, making the tree feel more finished with very little effort.
5. Create a DIY Wall Christmas Tree to Save Floor Space
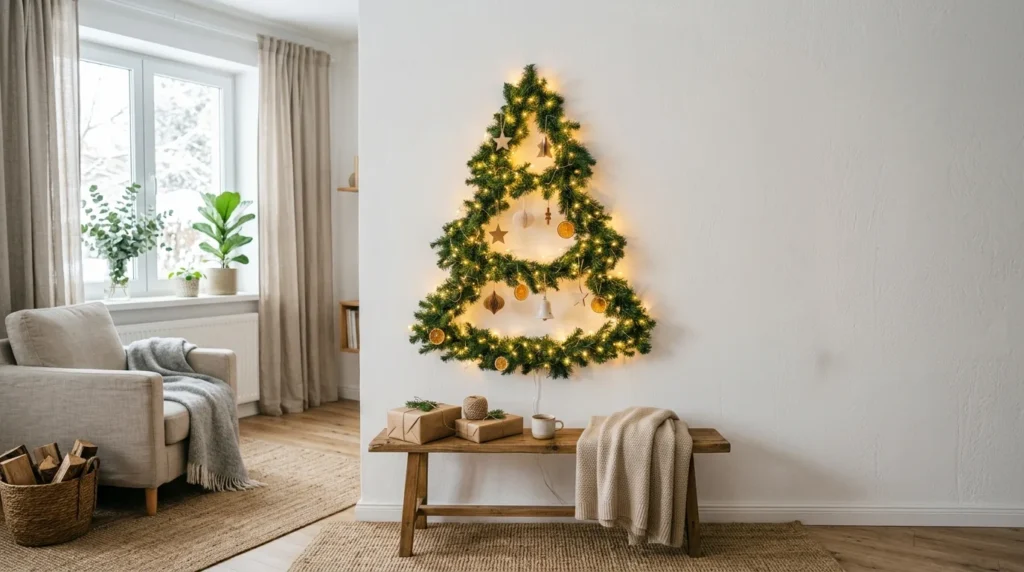
A wall mounted Christmas tree sounded unusual when I first saw the idea online, but after trying it myself, it quickly became one of my favorite decorating projects.
Using two faux garlands from Michaels, removable wall hooks, battery operated string lights, a handful of lightweight ornaments, and some twine, I arranged everything into the shape of a Christmas tree directly on the wall. The entire project took about ninety minutes from start to finish and cost roughly $60, mostly because I already owned some of the decorations.
The best part wasn’t the cost. It was the extra floor space. Since nothing sat on the ground, our living room felt much larger, and Miso couldn’t knock ornaments onto the floor during her usual midnight sprints through the house.
The project wasn’t flawless, though. I accidentally attached one side of the garland slightly higher than the other, so the tree looked uneven. Removing and repositioning the hooks fixed the problem, but it reminded me that measuring twice really does save time.
If you rent your home, removable hooks make this project much easier because they leave little or no damage behind when the holidays are over.
6. Decorate a Tabletop Tree for a Cozy Holiday Corner
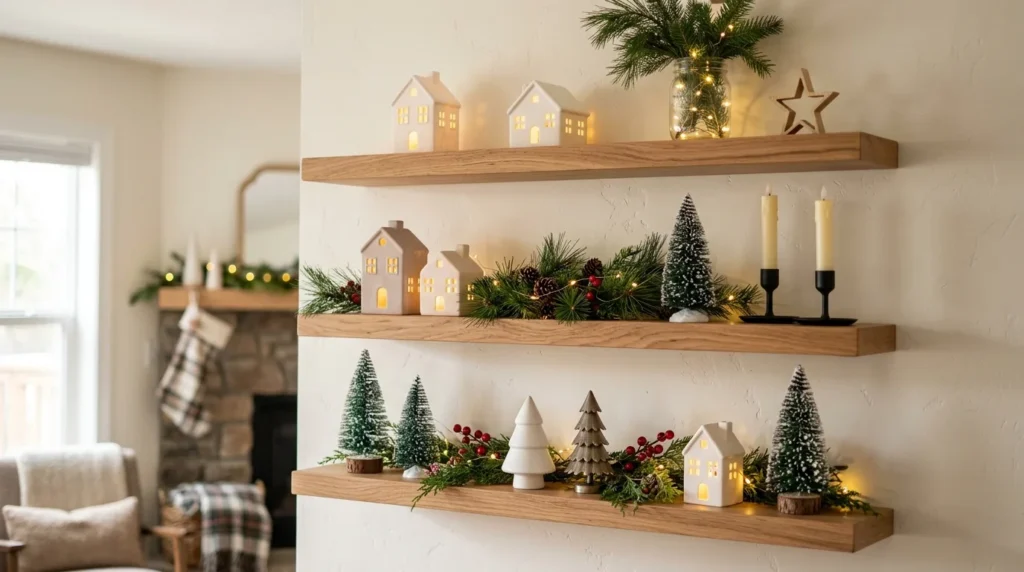
A tabletop tree can make just as much of an impact as a full size tree when you style it thoughtfully. Last year, I placed a 24 inch artificial tree on our kitchen counter because the living room already had enough decorations. That little tree immediately made the entire space feel more festive without taking away valuable counter space. I replaced the plastic container it came with by setting it inside a simple ceramic planter from Target that cost around $18. That one change made the tree look much more expensive.
Instead of filling every branch with ornaments, I kept the design simple. Warm white LED lights created a soft glow, while mini wooden ornaments added natural texture. A linen ribbon wrapped loosely around the branches, tiny brass bells introduced a little sparkle, and a woven star topper finished the display. The result looked clean, balanced, and matched the warm wood tones already found throughout our townhouse. Sometimes a smaller tree decorated with intention looks far better than a large tree covered in too many ornaments.
7. Add Natural Texture Around the Tree Instead of More Decorations
For a long time, I believed buying more decorations would automatically make our Christmas tree look better. After a few years, I realized the opposite was true. Too many ornaments made the tree look crowded and distracted from its overall shape.
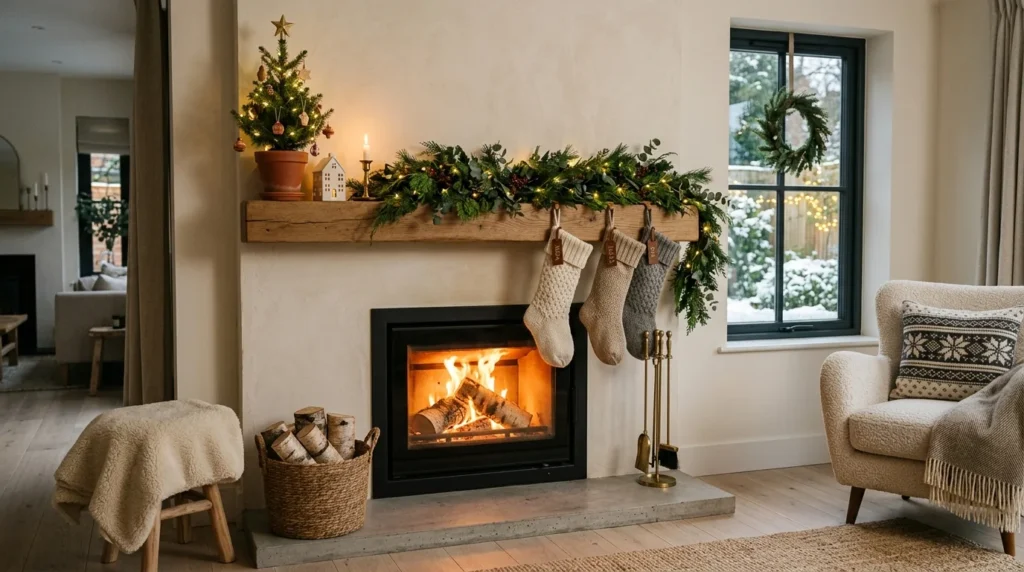
Now I decorate the base with faux cedar stems, pine branches, eucalyptus, and a few woven accents. HomeGoods and Michaels usually have realistic greenery for $8 to $15 per stem, and I reuse the same pieces every year. The different textures create depth without making the room feel cluttered.
Living outside Denver also changed the way I decorate with greenery. Fresh branches dry out much faster because of Colorado’s low humidity, so faux stems have become the better long term option in our home. They stay green throughout the season, require no maintenance, and still give the tree a natural appearance.
Another lesson I learned was to leave a little empty space between decorations. Every branch doesn’t need an ornament. A few open areas allow the lights to shine through and make the tree look fuller instead of overcrowded.
8. Build a Simple DIY Wooden Tree Stand Cover
One rainy weekend, Ethan and I decided to hide our metal tree stand by building a wooden crate around it. The project looked easy when we planned it, but it quickly reminded us that DIY projects rarely go exactly as expected.
We picked up a few pine boards from Home Depot for about $28, along with wood screws and stain. After measuring everything, I accidentally cut one board almost an inch too short because I marked the wrong side of the tape measure. That mistake meant another trip to Home Depot for replacement lumber.
Once we rebuilt the frame correctly, we stained the wood with a light natural finish that matched our living room furniture. The completed crate cost roughly $46, and it now hides the tree stand while doubling as storage for extra ornaments after Christmas.
That project wasn’t perfect, but it taught me something valuable. Decorating a home isn’t about flawless DIY projects. It’s about creating pieces that fit your space and make your home feel personal.
9. Decorate With Fewer Ornaments for a Fuller Look
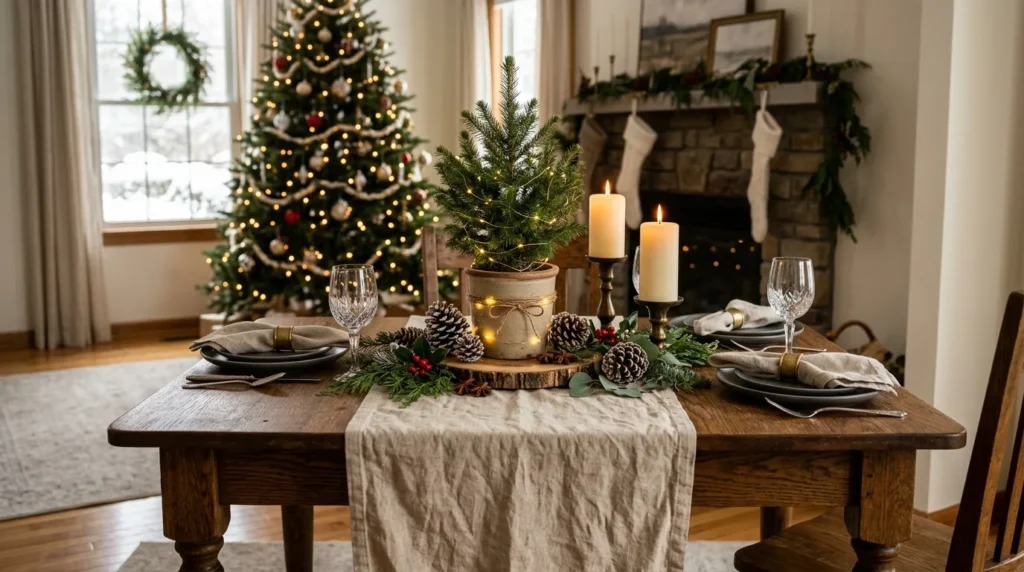
One of the biggest decorating myths is that every branch should hold an ornament. I believed that for years until I stepped back and looked at our tree from across the room.
Now I decorate in layers instead of decorating every branch individually. I begin with warm white lights, then place larger ornaments closer to the center to add depth. Smaller ornaments fill the outer branches, while ribbon gently wraps around the tree without covering everything underneath.
This method actually makes a smaller tree appear fuller because each ornament has room to stand out. It also saves money since you don’t need dozens of decorations to create a polished look.
If you’re decorating on a budget, buy one quality ornament collection each Christmas instead of replacing everything every season. Over a few years, you’ll build a collection that feels meaningful instead of rushed.
10. Choose Storage That Saves Space All Year
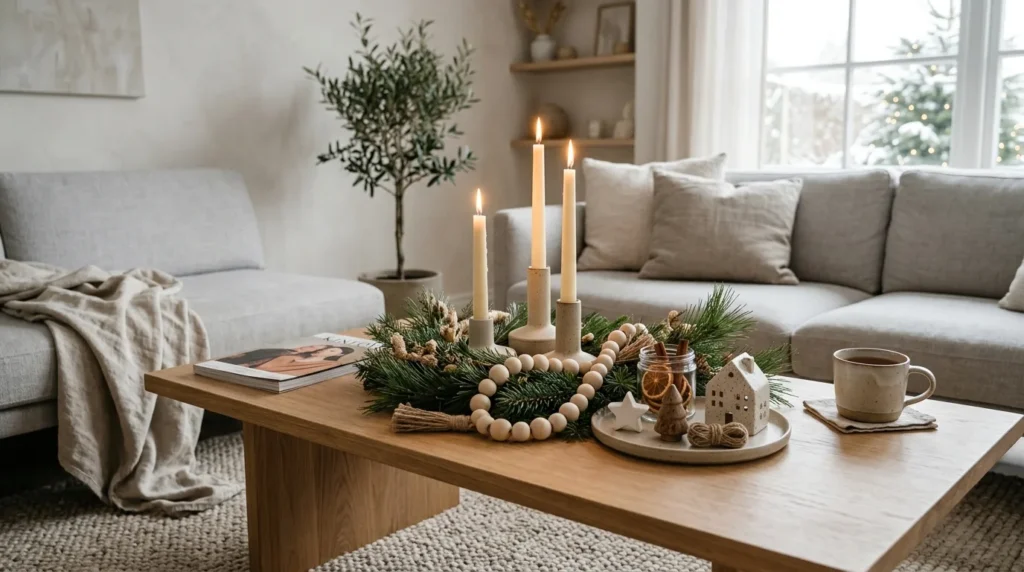
Christmas decorations only stay on display for a few weeks, but they need storage for the rest of the year. That became a challenge after we realized our townhouse didn’t have a large attic or a spacious basement.
Instead of buying oversized plastic bins, I switched to stackable fabric storage bags that slide neatly under the guest bed. Each section of the artificial tree fits inside its own compartment, and smaller decorations stay organized in labeled containers. The entire setup takes up much less room than the bulky storage bins we used before.
The Container Store, IKEA, and Amazon all sell practical holiday storage solutions ranging from $20 to $55. Buying quality storage might not feel exciting, but it protects your decorations and makes unpacking everything much easier next year.
One year I forgot to label the boxes before putting them away. The following November, I spent nearly an hour opening random containers just to find the tree topper. Since then, every storage container gets a clear label before it goes into the closet.
11. Finish the Room With Warm Lighting
Lighting often has a bigger impact than the decorations themselves. During our first Christmas in this townhouse, I mixed cool white lights with warm white lights because I assumed no one would notice. Every evening, the difference bothered me.
Now every strand of lights in our home uses warm white LEDs around 2700K. That color works beautifully with neutral walls, wood furniture, and soft holiday decorations. Battery operated candles placed on nearby shelves add another layer of warmth without leaving cords stretched across the room.
If you use extension cords or power strips for holiday lighting, always follow the manufacturer’s instructions and inspect cords before plugging them in. Avoid placing cords under rugs or across walkways where someone could trip. If you have concerns about electrical capacity or damaged outlets, consult a licensed electrician before adding more holiday lighting.
Small details like consistent lighting often create a bigger holiday atmosphere than buying another box of decorations.
What I’d Do Differently Next Christmas
Looking back over the past few Christmas treeseasons, I wouldn’t spend money on trendy decorations that only stay popular for one year. I’d invest in a quality artificial tree, reliable warm white lights, and timeless ornaments that work with almost any decorating style.
I’d also measure every corner before ordering furniture or holiday decorations online. That simple habit would’ve saved me from returning an oversized tree, replacing the wrong storage basket, and making extra trips to the store.
Living in a 1,050-square-foot townhouse has taught me that every decoration should have a purpose. A room doesn’t need to be filled from corner to corner to feel festive. Sometimes leaving a little open space makes the holiday decorations look even better.
Celebrate Christmas Without Crowding Your Home
After several years of decorating our townhouse, I’ve realized that the best Christmas displays aren’t the biggest ones. They’re the ones that fit naturally into the home you already have. A slim pencil tree, a simple tabletop arrangement, or even a DIY wall tree can bring plenty of holiday charm without taking over your living room.
If you’re trying these small Christmas tree ideas, start with one change this year instead of replacing everything at once. You might be surprised how much difference one well-placed tree, better lighting, or a simple DIY project can make. Christmas decorating should make your home feel comfortable, welcoming, and easy to enjoy throughout the entire season.