A bathroom doesn’t need a built in cabinet to stay organized. I learned that after living in our 1,050 square foot townhouse, where every inch has to earn its place. The bathroom had limited floor area, awkward corners, and nowhere obvious to hide everyday items. At first, I tried adding more furniture. That made the room feel tighter instead of more useful.
The better solution came from looking upward and using the wall, door, corners, and unused space around the sink. These small bathroom storage ideas without a cabinet work especially well when you can’t add bulky furniture or don’t want to drill into the walls.
In 2026, bathroom organization also feels less dependent on matching furniture sets. Open shelves, slim baskets, wall mounted organizers, hooks, and simple wood accents can give a bathroom a cleaner look without filling the floor. You don’t need a major renovation either. A few thoughtful changes can create storage for towels, toiletries, toilet paper, cleaning supplies, and daily essentials.
Here are the ideas that have worked best for me, including one DIY project that didn’t go perfectly the first time.
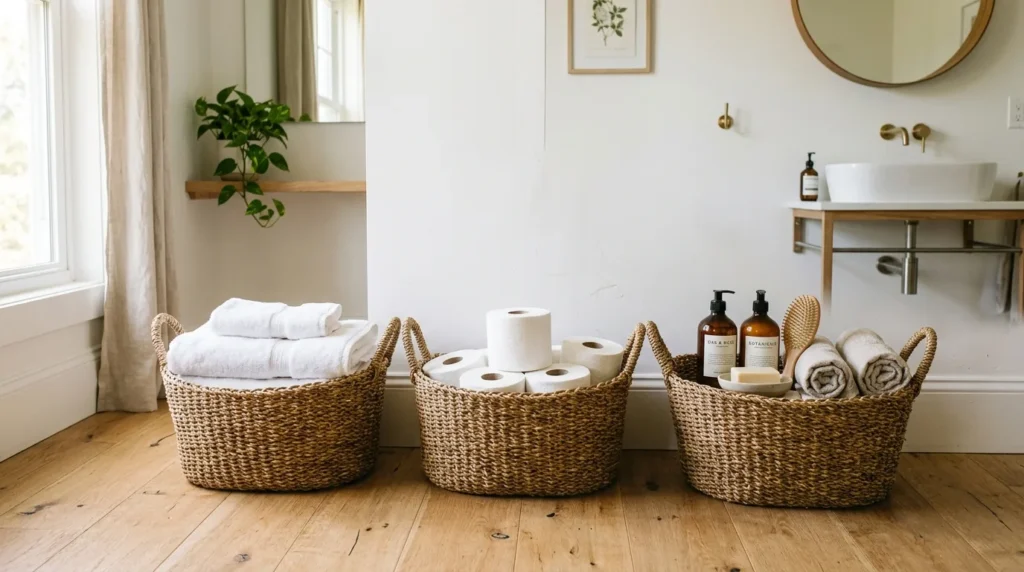
Use the Wall Above the Toilet
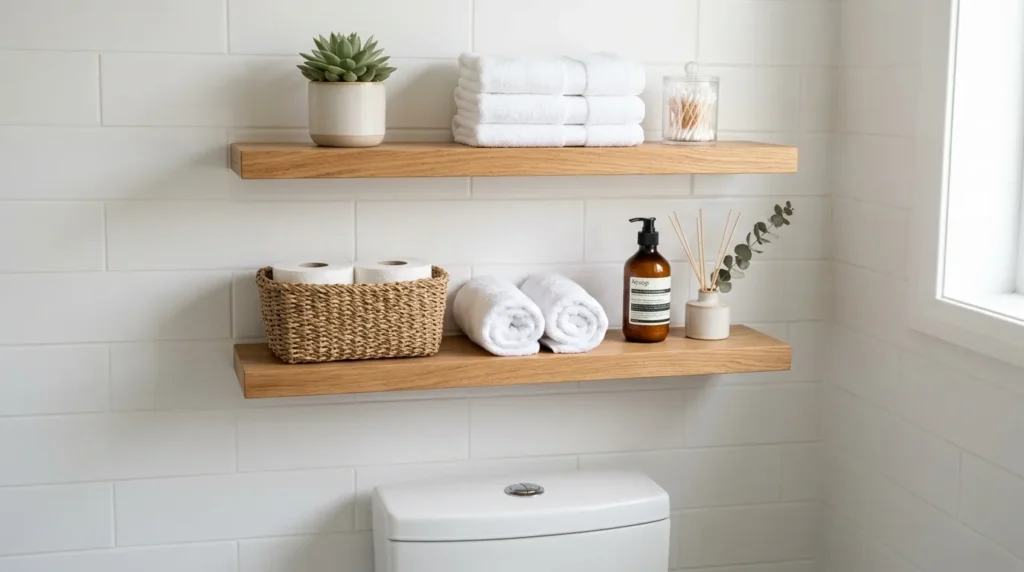
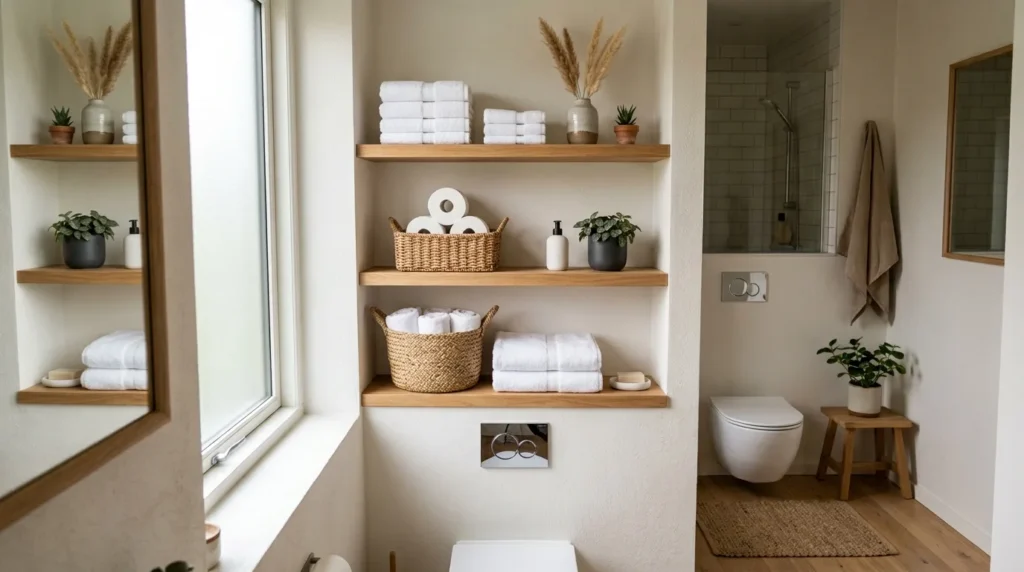
The wall above the toilet is often wasted space. In a Bathroom Storage Ideas without a cabinet, that vertical area can hold several everyday items without taking up valuable floor space.
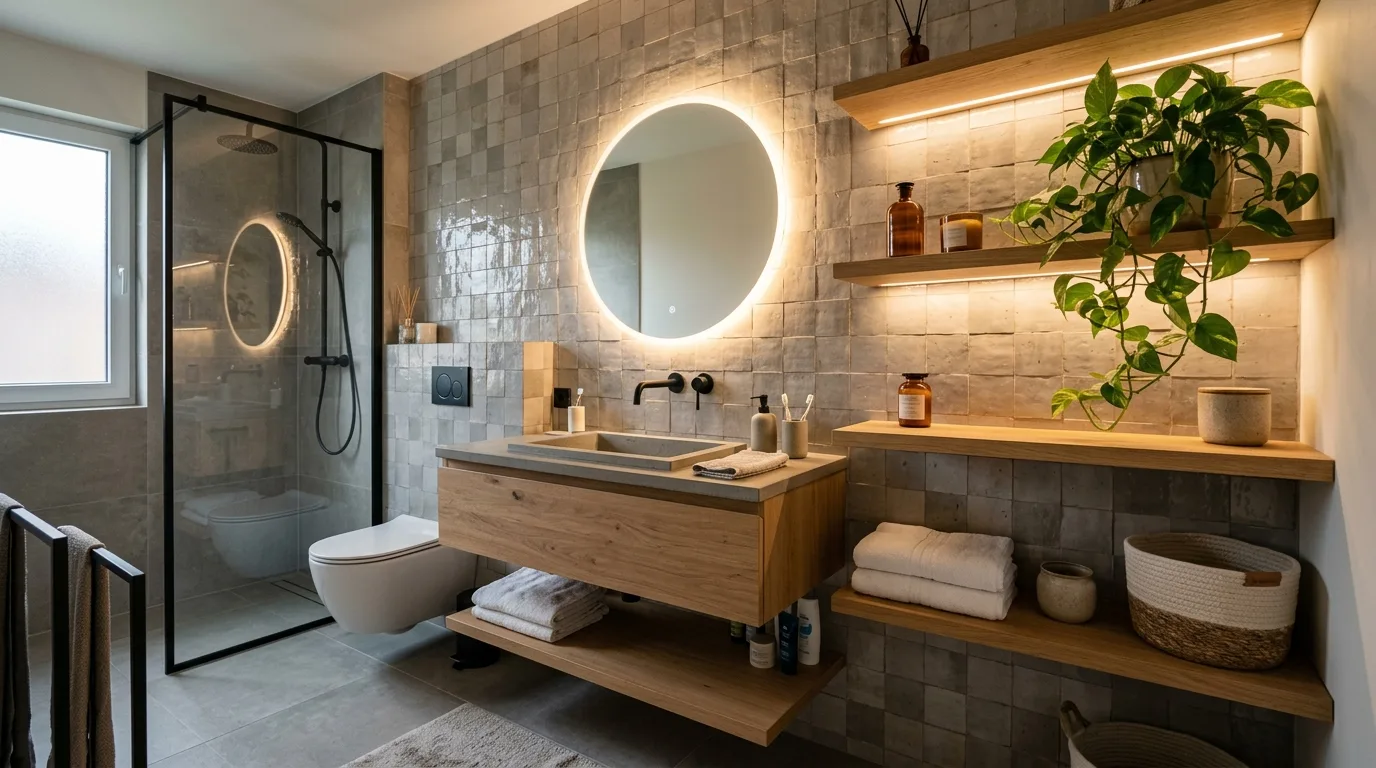
A narrow set of floating shelves can hold folded hand towels, toilet paper, small baskets, and a few decorative pieces. Keep the shelves relatively shallow so the room doesn’t feel crowded. Around 6 to 8 inches of depth can work well for lighter bathroom supplies.
Wood shelves fit my warm Scandi/Japandi style better than glossy furniture. A natural oak tone also works nicely with white walls and simple ceramic accessories.
For renters, removable wall shelves or over the toilet organizers can provide a similar setup. Just check the manufacturer’s weight limits and your lease before attaching anything permanently.
If a $70–$120 shelving setup feels unnecessary, look for a simple $20 $40 shelf at Target or IKEA and pair it with inexpensive baskets.
One mistake I made was placing a shelf too close to the toilet tank. It looked fine from the front, but reaching behind the tank became annoying. Moving it slightly higher fixed the problem.
Add a Slim Rolling Cart
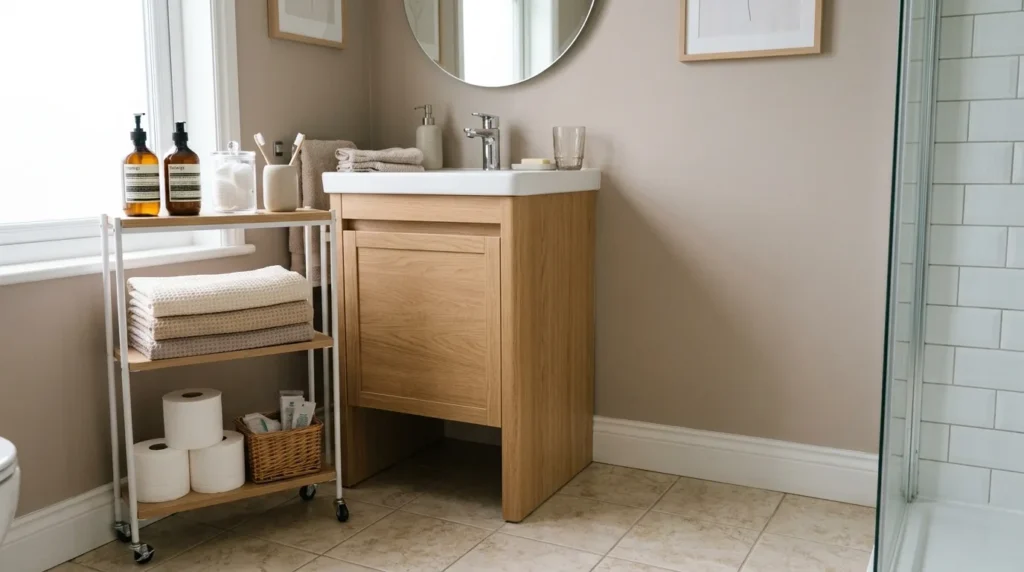
A rolling cart can replace some of the storage you would normally get from a bathroom cabinet.
The key is choosing a narrow model. A cart around 5 to 8 inches wide can slide beside a vanity, toilet, or unused wall without blocking movement. Use separate levels for different categories instead of throwing everything together.
For example:
- Top level: skincare, hand soap, and daily toiletries
- Middle level: hair products, brushes, and extra towels
- Bottom level: toilet paper, cleaning supplies, and backup products
This setup also makes cleaning easier because you can move the cart away from the wall.
I like this option for bathrooms that need flexible storage. It doesn’t permanently change the room, and you can move it if your layout changes later.
A basic cart may cost around $30 $60, while more polished versions can reach $100 or more. If the higher priced option isn’t in your budget, check , Target, or Amazon for a simple metal cart.
Just don’t overload the top shelf. A tall cart with heavy bottles can become unstable, especially on a wet floor.
Turn the Bathroom Door Into Storage
The back of the bathroom door can provide surprisingly useful storage.
An over the door organizer can hold toiletries, extra toilet paper, hair tools, or small towels. Choose one with slim pockets so it doesn’t make the door difficult to close.
Another option is a row of lightweight hooks. Three or four hooks can handle towels, robes, or a small toiletry bag.
This works particularly well when the walls have little usable space. It also helps keep frequently used items off the sink.
For a cleaner look, choose one finish and repeat it. Black metal works with modern bathrooms, while brushed metal or warm wood can feel softer.
An over the door organizer usually costs around $15 $35. That makes it one of the cheapest ways to add storage without buying furniture.
Before installing anything, open and close the door several times. I once used an organizer that made the door hit the adjacent wall. It technically fit, but the daily annoyance wasn’t worth it. A slimmer version solved it.
Install a Narrow Wall Shelf Near the Sink
The area beside a bathroom mirror often gets ignored.
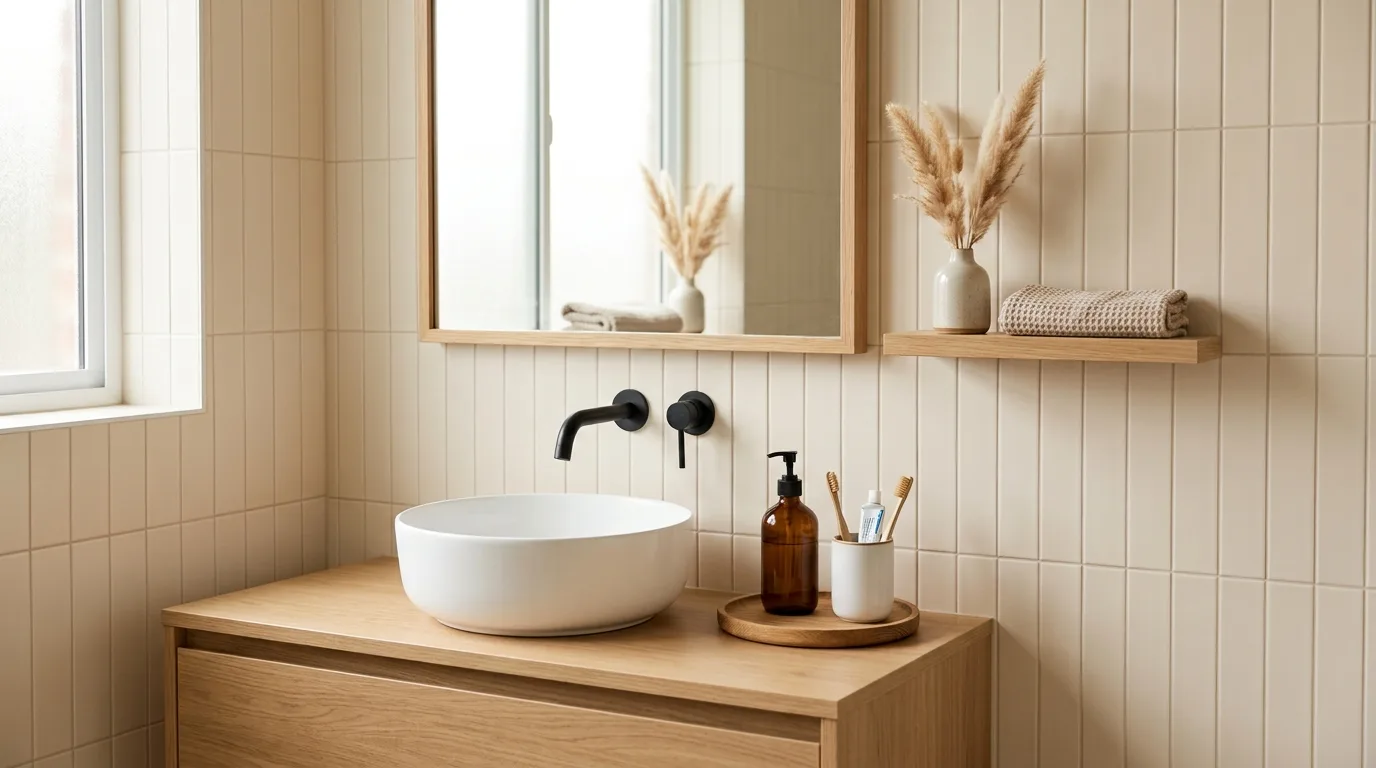
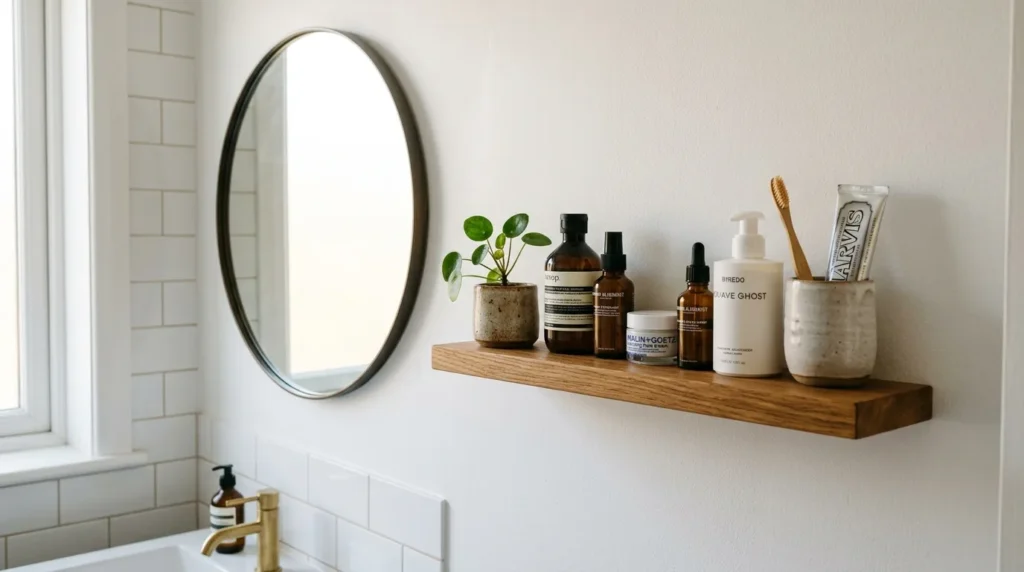
A narrow shelf can hold toothbrush cups, skincare, hand lotion, or a small tray. Keep only the items you use regularly on this shelf. Too many bottles will quickly make the bathroom look cluttered.
For a rental, adhesive shelves can work for lightweight products when the manufacturer approves them for bathroom use. For heavier shelves, use the correct wall anchors and hardware for your wall type.
This is one place where I wouldn’t guess about installation. If you’re drilling into tile, plumbing areas, or electrical zones, consult a licensed professional if you’re unsure about what’s behind the surface.
A simple shelf can cost around $25 $50. A custom looking wood shelf might run $60 $100.
The budget version is easy: buy a basic unfinished wood shelf for around $15 $25, lightly sand it, and finish it with a bathroom-appropriate sealant. Dry Colorado air can be hard on wood, so I wouldn’t skip the protective finish.
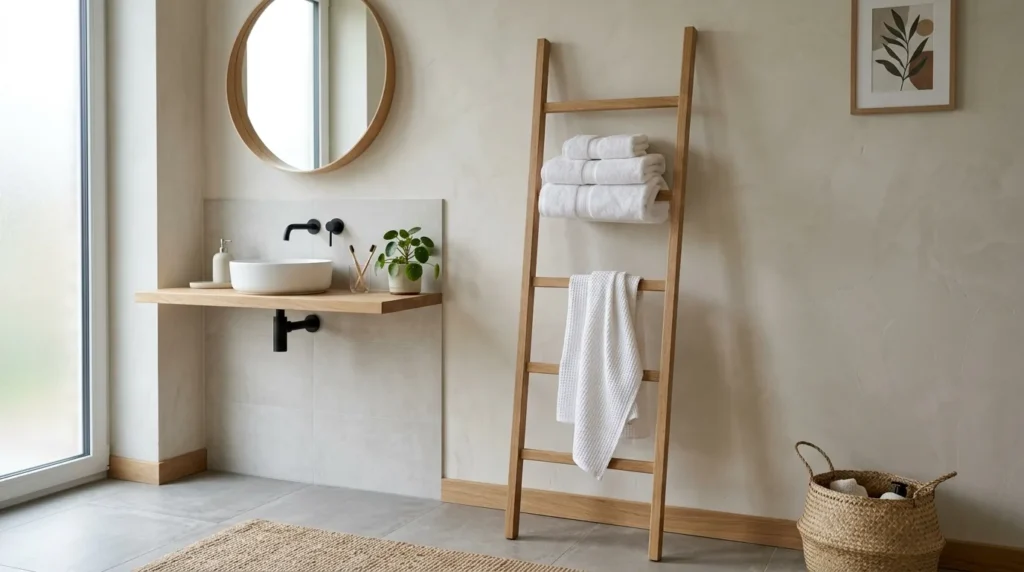
Use Baskets Instead of Bulky Furniture
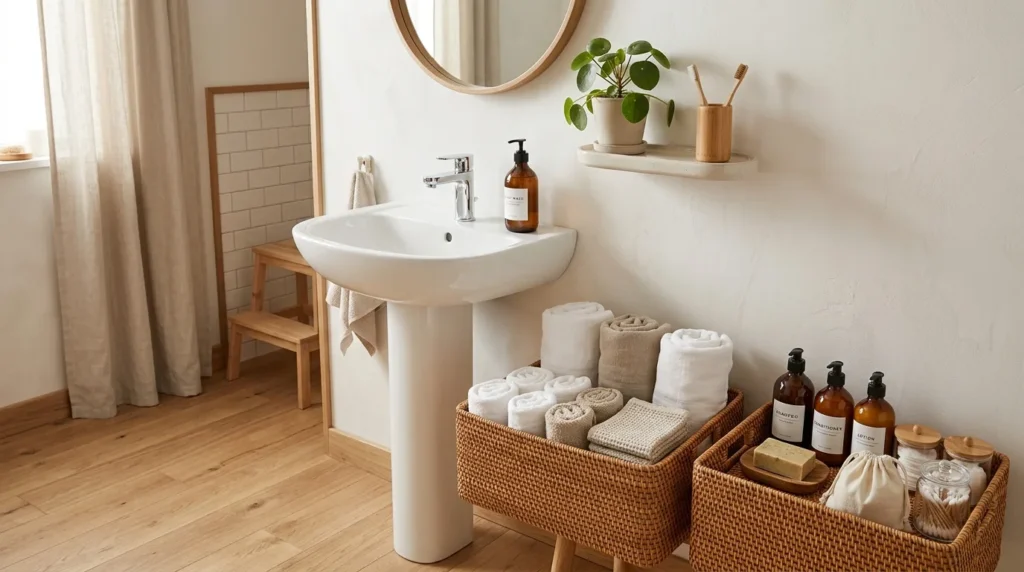
Open storage can look messy when every product sits in plain sight. Baskets solve that problem without adding a large cabinet.
Use one basket for extra toilet paper, another for towels, and another for personal care items. Labels can help, but I prefer simple baskets without too much visual decoration.
Woven baskets add warmth to a white bathroom. Fabric bins create a softer look, while plastic containers make more sense for cleaning products or areas that regularly get wet.
A basket can cost anywhere from $8 to $30 depending on size and material. You don’t need matching sets, either. Two or three similar baskets usually look more intentional than a collection of completely different containers.
For a budget-friendly setup, Target and HomeGoods often have affordable storage baskets in neutral colors.
One lesson I learned was to measure before buying. A basket that looks tiny online can take up much more room once it’s sitting beside the toilet. Measure the available width, height, and depth first.
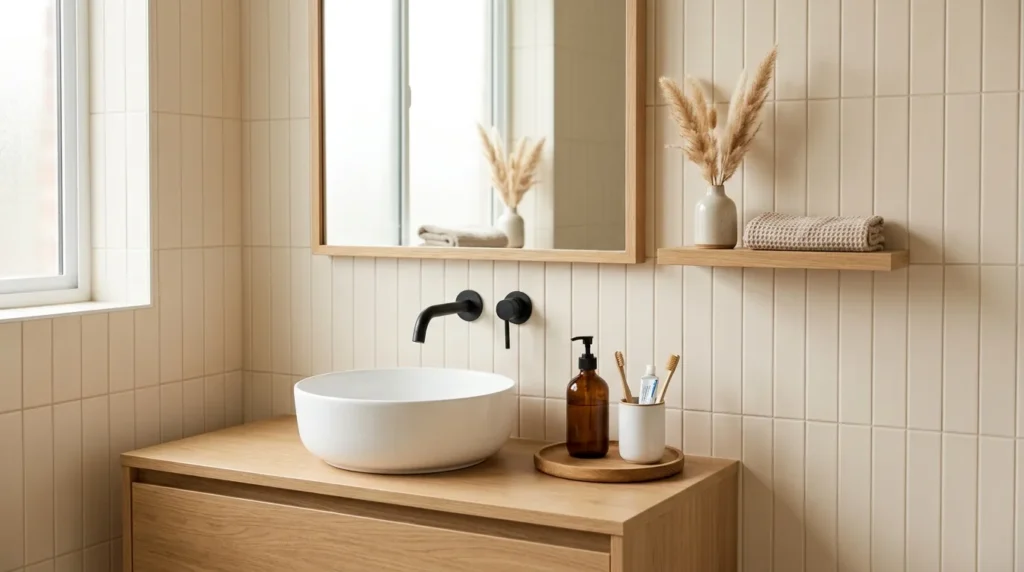
Make Use of the Corner
Corners can become dead zones in bathrooms, especially when the room has an unusual layout.
A narrow corner shelf can turn that unused area into useful storage for rolled washcloths, skincare, or decorative items. A tall corner unit can hold more, but I prefer shorter shelves when the bathroom already feels visually busy.
Another simple solution is a freestanding corner basket. It doesn’t require installation and can move whenever you clean.
Keep heavy items on lower shelves. If you use a tall storage unit, anchor it properly so it can’t tip. Bathroom floors can become slippery, and a narrow piece of furniture can shift more easily than a wide cabinet.
For a less expensive alternative, stack two or three sturdy baskets in the corner instead of buying a dedicated shelving unit.
This approach also works well in older builder grade bathrooms. Our townhouse has some of those early 2000s details, and I’ve found that simple storage pieces can make the room feel more intentional without trying to hide every original feature.
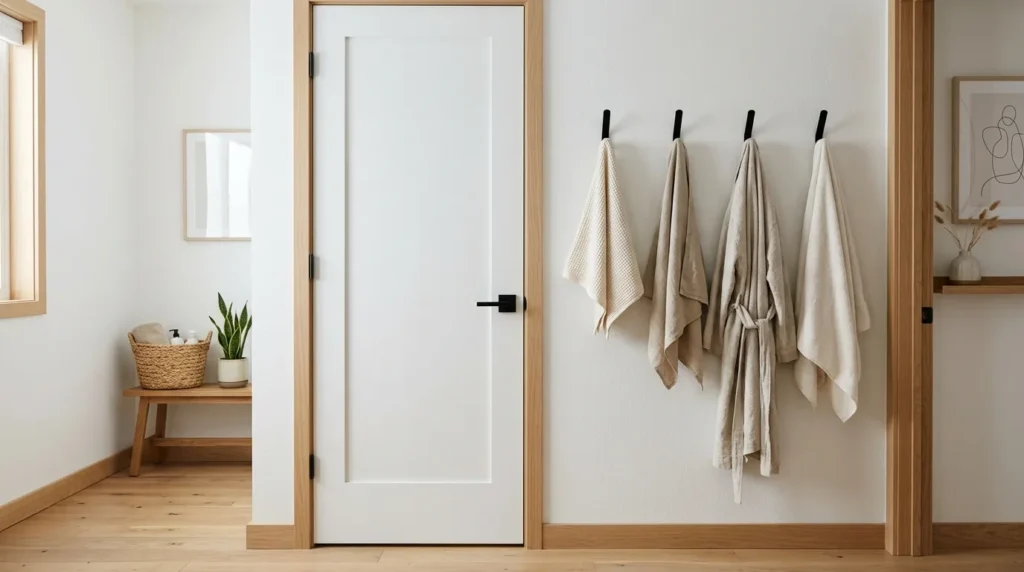
Create a Towel Storage Station
Towels don’t always need a cabinet.
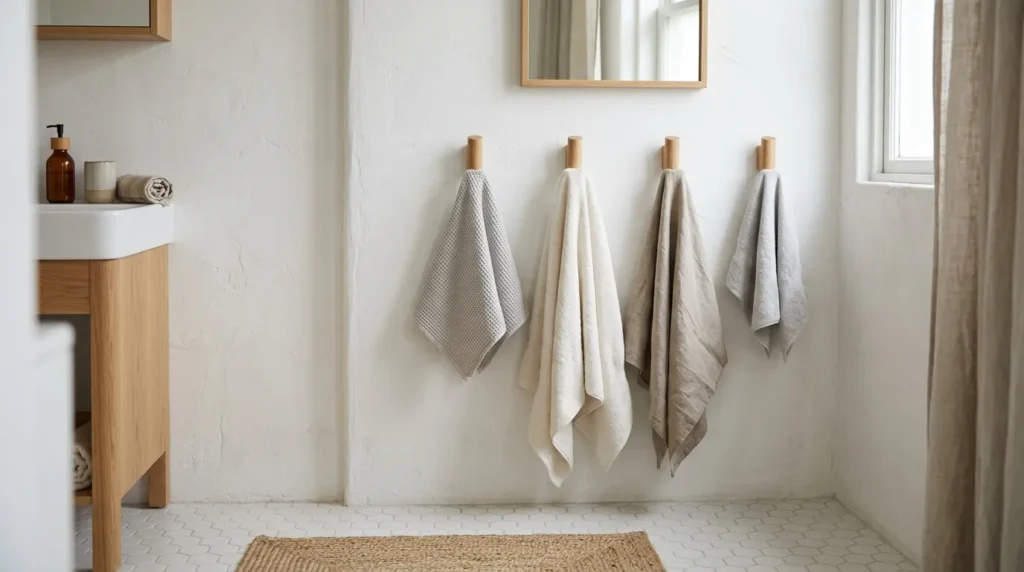
A wall-mounted towel ladder, slim shelf, or group of hooks can keep clean towels accessible while using very little floor area.
If you have limited wall width, hooks usually make more sense than a large towel rack. Install one for each frequently used towel and keep a small basket nearby for extras.
A simple towel ladder can cost around $40 $80. Wall hooks can cost less than $10 each, depending on the material.
For my preferred warm minimalist look, I’d choose wood, matte black, or brushed metal rather than mixing several finishes.
If you have pets, keep towels away from areas where your cat or dog can easily reach them. Miso has taught me that anything hanging within paw’s reach can become a toy.
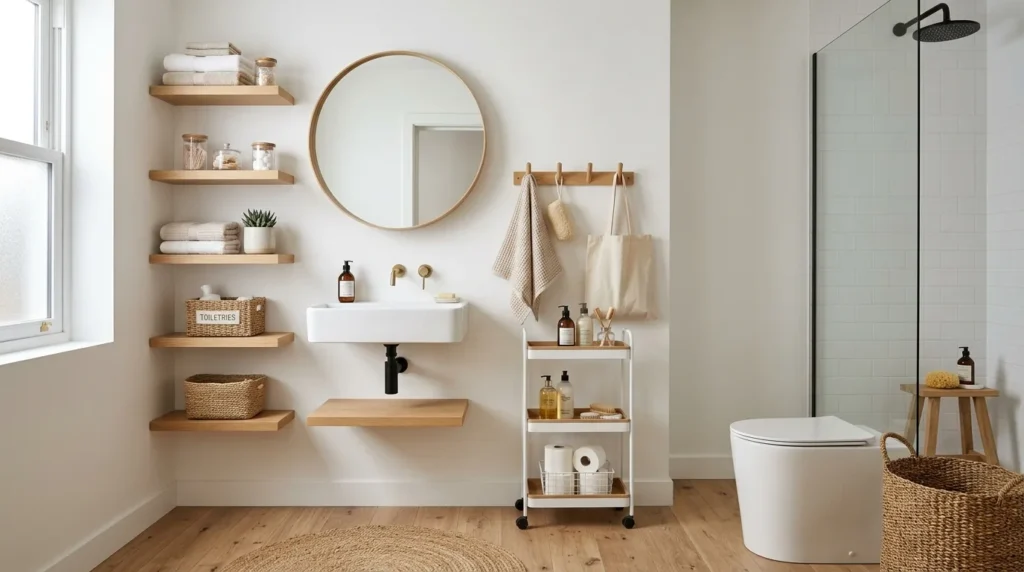
Build a Simple DIY Shelf With a Realistic Budget
One of my favorite cabinet free storage projects was a basic floating shelf.
The plan sounded easy: measure the wall, buy a board, cut it, sand it, install the brackets, and load it with baskets.
Naturally, the first attempt didn’t go that smoothly.
The board I bought was slightly too long for the spot. I measured the wall but forgot to account for the trim. That meant another trip to Home Depot before I could finish the project.
After cutting the board again, I sanded the edges and applied a protective finish. The dry Colorado air made the finish dry faster than I expected, so I had to work more quickly between coats.
The final shelf cost roughly $30 $45 for the board, brackets, finish, and hardware. A similar ready-made shelf could easily cost more.
The important lesson wasn’t the money saved. It was measuring the actual installation area, including trim and nearby fixtures, before buying materials.
For bathroom storage, keep DIY projects simple. If you’re unsure about wall construction, waterproofing, electrical wiring, or plumbing, consult a licensed professional rather than guessing.
Use the Space Under the Sink Carefully
Even without a cabinet, the area around a pedestal sink can offer storage opportunities.
A narrow freestanding organizer can sit beside the sink. Another option is a small rolling basket that fits underneath only if the sink design allows enough clearance.
Don’t force storage into a space where it blocks your feet. That’s one of those ideas that looks clever in a photo but becomes frustrating after a week.
Use the area for less attractive necessities, such as extra toilet paper, cleaning cloths, or backup toiletries.
A small organizer can cost around $20 $45. If you already own baskets, you may not need to buy anything at all.
Keep the Countertop Almost Empty
More storage doesn’t help if every surface becomes a storage zone.
I try to keep only the items we use every day on the bathroom counter. Everything else gets a home on a shelf, in a basket, or inside a small organizer.
This also makes cleaning faster. Instead of moving ten bottles before wiping the counter, you can clear one or two items and get it done.
A small tray can group daily products together. Around $10 $20 can buy a basic tray that keeps bottles from spreading across the sink area.
The goal isn’t perfection. Bathrooms get used. Towels move, toothpaste gets left out, and products multiply. A simple system makes resetting the room easier.
What I’d Do Differently After Testing These Ideas
The biggest mistake was buying storage before measuring the room.
That sounds obvious, but bathroom layouts can fool you. A piece may fit on paper and still block a door, crowd the toilet, or make the sink uncomfortable to use.
The second mistake was trying to store too many products. Extra storage encouraged me to keep things I rarely used. Once I removed expired products and duplicates, I needed much less space.
Now I use a simple rule: store the things you actually use, not the things you might use someday.
For a cabinet free bathroom, I’d start with wall storage, one basket system, and hooks. Then I’d live with the setup for a week before buying anything else.
That pause matters. It shows you where the real storage problems are instead of encouraging another shopping trip.
How to Keep Cabinet Free Bathroom Storage Looking Clean
The best organization system still needs a little maintenance.
Once a week, return loose products to their baskets and remove empty containers. Keep cleaning supplies together instead of scattering them around the room.
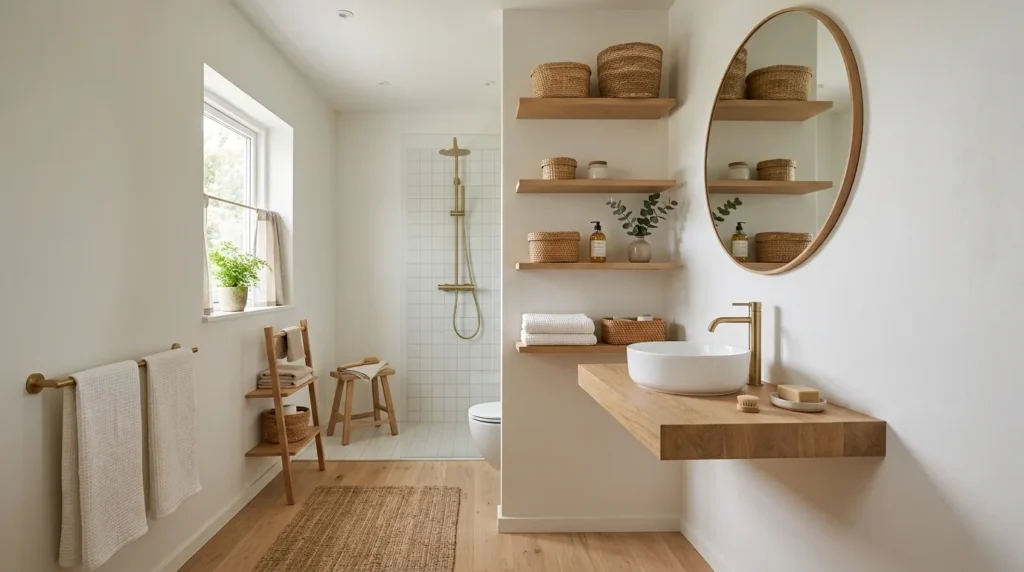
Stick with two or three materials. For example, white ceramics, natural wood, and brushed metal can create a calm look without requiring matching furniture.
Avoid filling every shelf just because you have space. A little empty room makes the storage easier to use and keeps the bathroom from feeling crowded.
For 2026, I also like the move toward practical organization rather than overly styled storage. The bathroom should work first. The baskets, shelves, and hooks should make everyday routines easier.
A Better Cabinet Free Bathroom Starts With One Empty Wall
You don’t need a full vanity renovation to improve bathroom storage. Start with the space you’re already ignoring. The wall above the toilet, the back of the door, an unused corner, or the area beside the mirror can all become useful storage zones.
After living with limited square footage for several years, I’ve learned that adding fewer, better sized pieces usually works better than squeezing furniture into every available gap. Measure first, keep everyday products within reach, and give everything a clear home.
If you’re planning your own bathroom refresh, save these ideas and start with one easy change this weekend. Then visit CompactDecorHub.com for more practical room by room decorating ideas that make limited square footage easier to live with.Schema Type: BlogPosting