
Every fall, I look forward to giving our front porch a DIY Outdoor Halloween makeover. Living in a 1,050 square foot townhouse outside Denver means I can’t fill the yard with giant decorations, so I focus on DIY projects that make a big impact without taking up much space. Over the past few years, I’ve painted pumpkins, built homemade lantern displays, hung floating ghosts, and even made my own tombstones. Some projects turned out better than others, but each one taught me how to create outdoor decorations that look great, last through the season, and fit a realistic budget.
The best part about DIY outdoor Halloween decorations is that you don’t need expensive supplies or advanced crafting skills. A few pumpkins, leftover wood, outdoor paint, rope, battery powered lights, and a free afternoon can completely change the look of your porch, patio, or front yard. Many of these projects use materials like Home Depot, Michaels, Target, and Dollar Tree, while others give old household items a second life.
In this guide, you’ll discover 10 DIY outdoor Halloween decorations that are creative, budget friendly, and easy to build. From glowing lanterns and floating witch hats to painted pumpkins and spooky yard displays, these ideas will help you create a festive outdoor space that welcomes trick or treaters, impresses your neighbors, and brings Halloween fun to your home without spending a fortune.
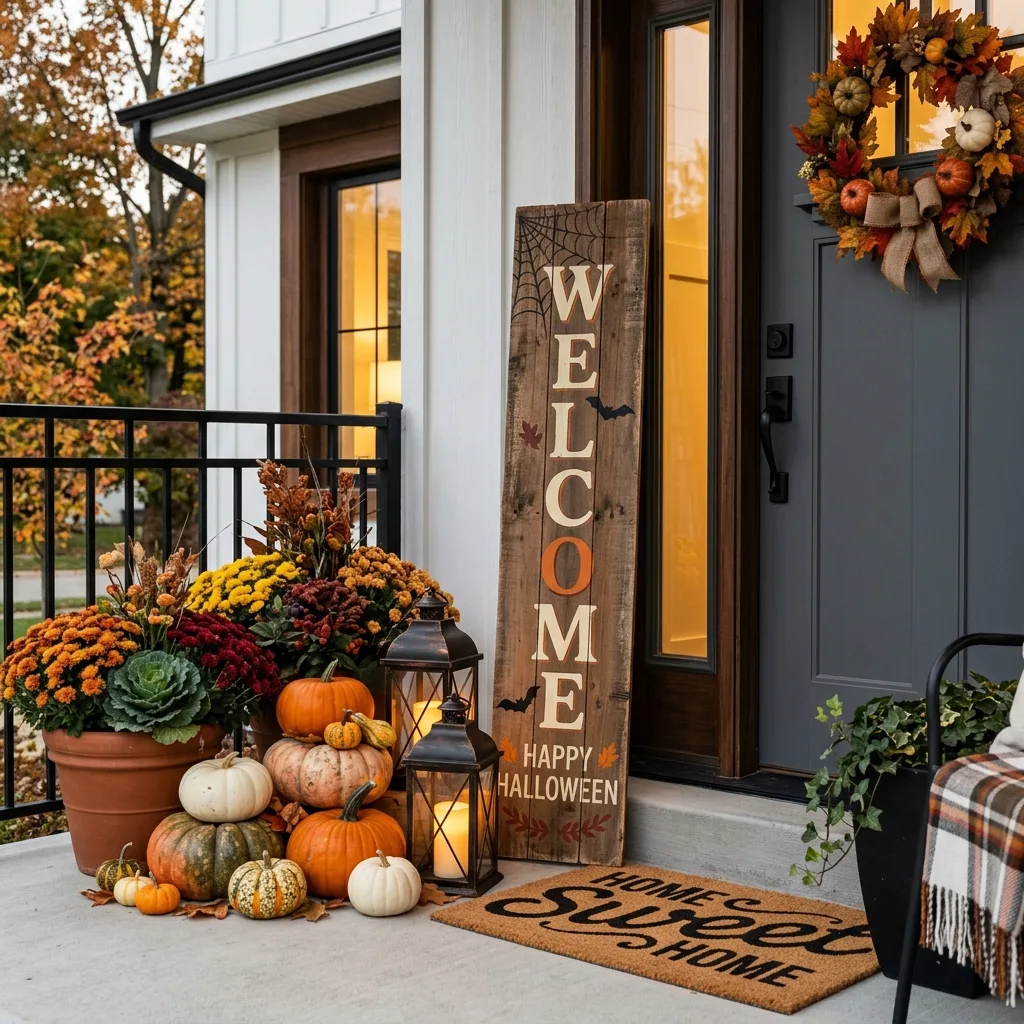
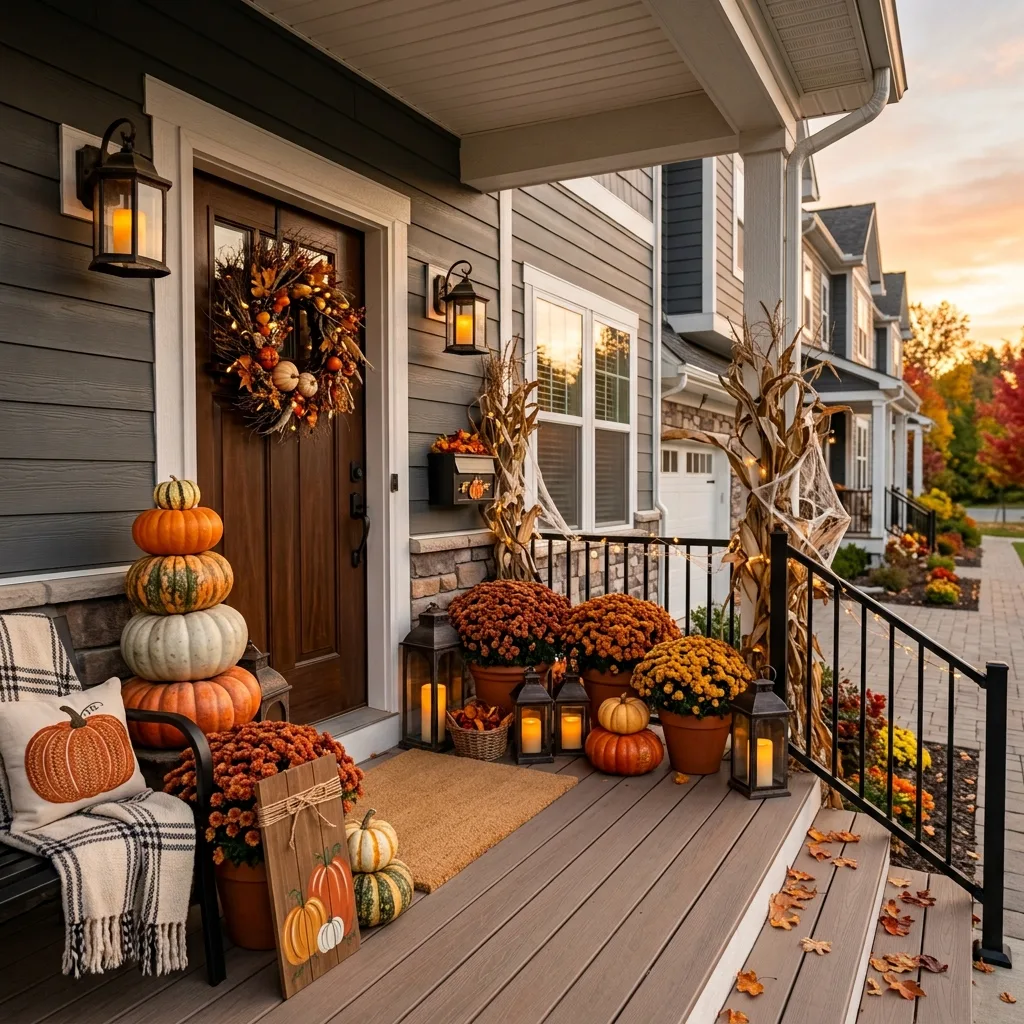
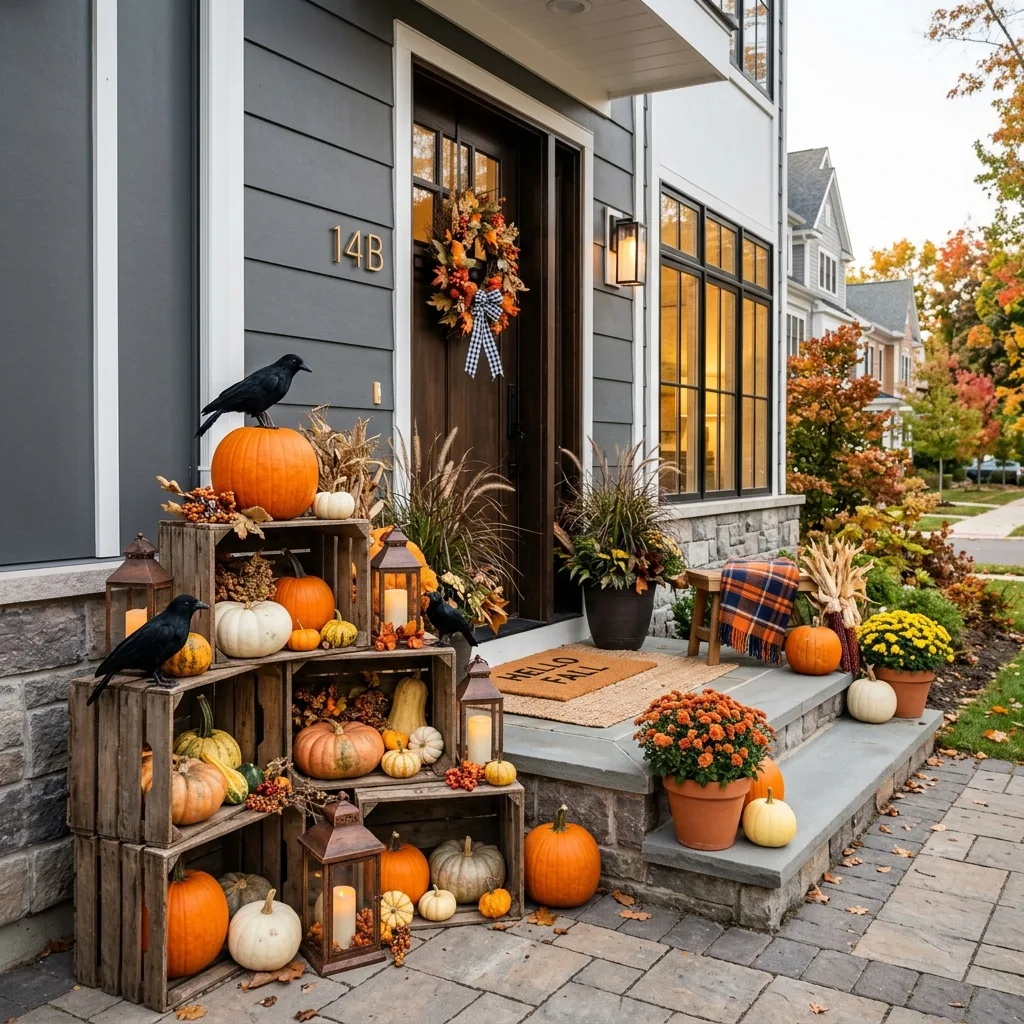
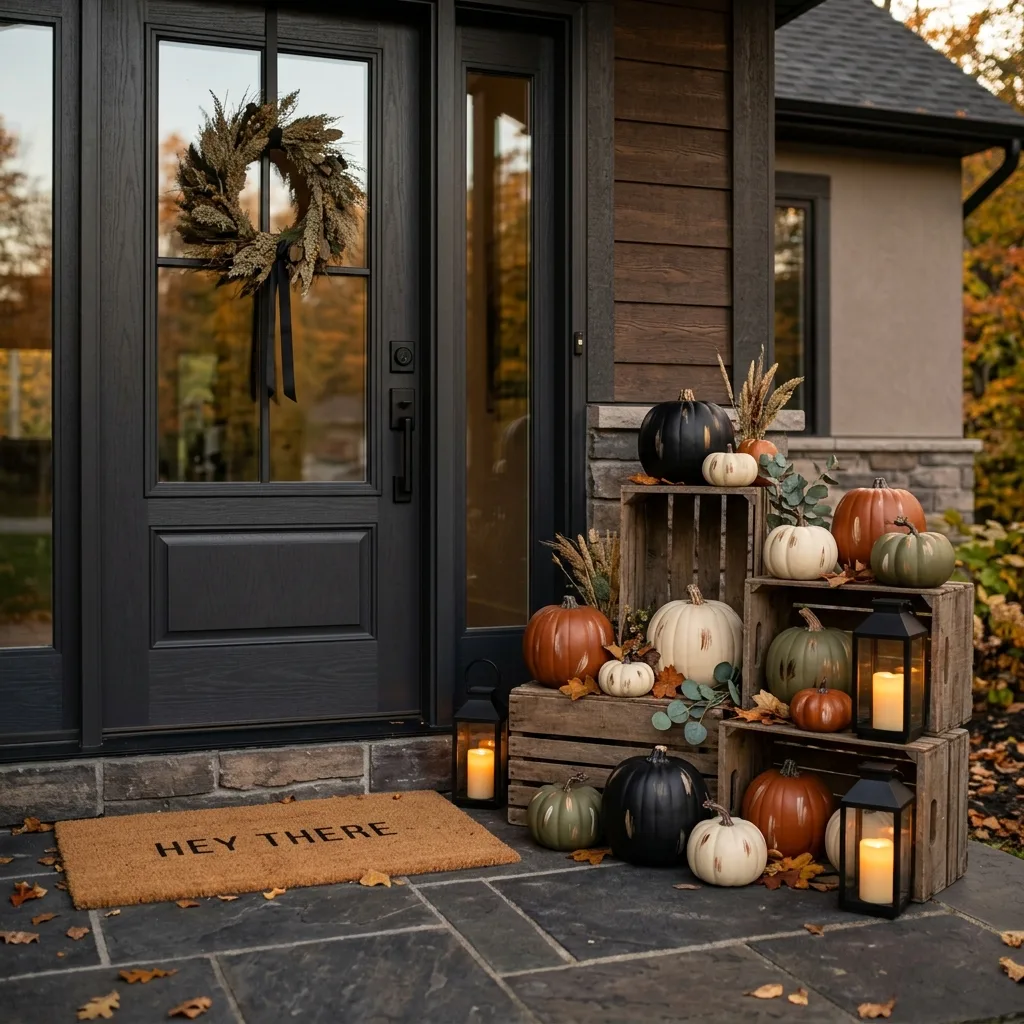
1. Build a Pumpkin Porch That Looks Full Instead of Crowded
A pumpkin display still one of the easiest ways to decorate outdoors, but stacking random pumpkins rarely looks intentional.
Instead, build your display in layers DIY Outdoor Halloween decoration .
Start with larger pumpkins at the back near the wall, medium pumpkins in the middle, and smaller gourds toward the front. Mixing different heights creates depth without taking up more space.
Last fall, I picked up several real pumpkins from a local farm stand and mixed them with a few faux pumpkins from Target that cost around $12 each. Since faux pumpkins can be reused every year, they’re worth buying gradually instead of all at once.
For tighter porches, wooden crates from Michaels or unfinished boxes from Home Depot work well as risers. Expect to spend around $18 35 for a couple of crates.
Add Texture Without Buying More Decorations
Instead of purchasing extra décor, fill empty areas with:
- Straw bales
- Corn stalk bundles
- Pinecones
- Fall leaves
- Lanterns with battery candles
These inexpensive fillers make the arrangement feel finished without making the porch look crowded.
Budget Alternative
West Elm sell beautiful outdoor lanterns, but simple black lanterns from Target or Amazon often create a similar effect for under $30.
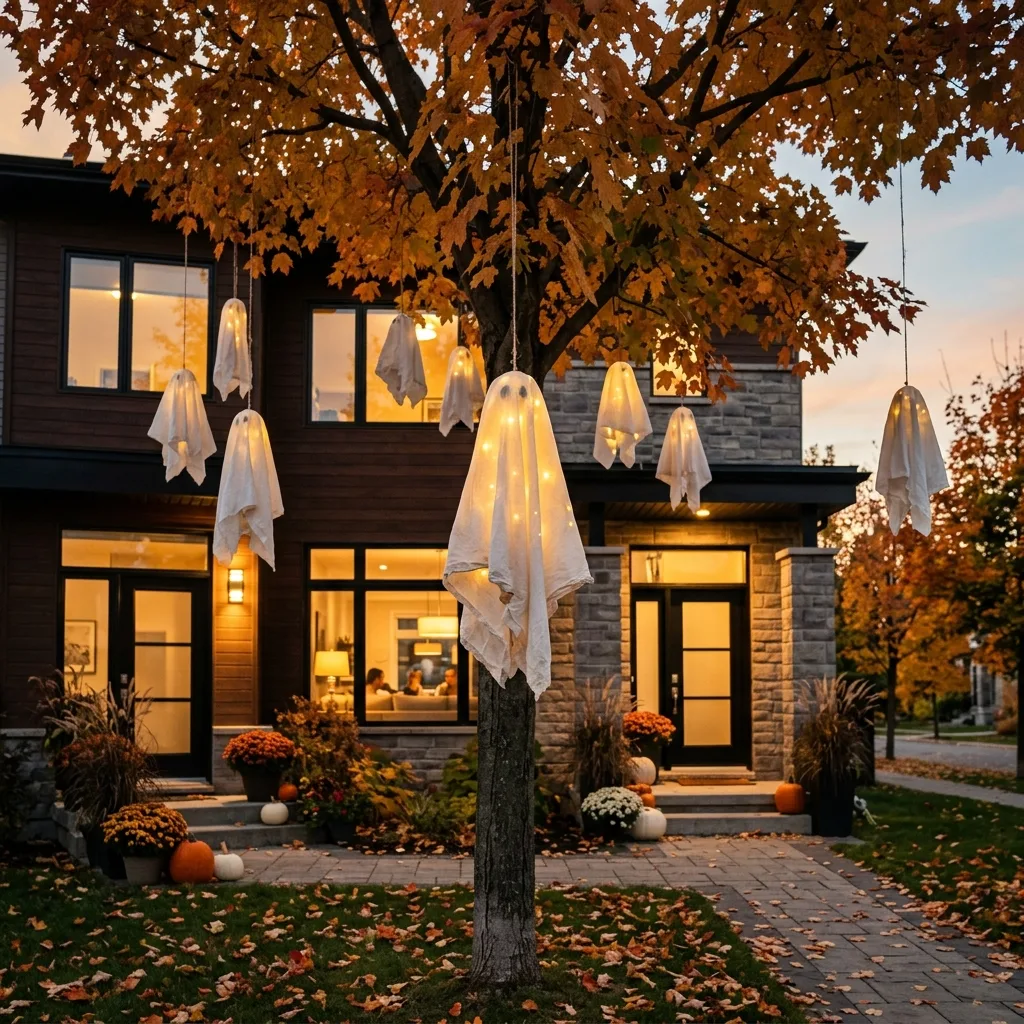
2. Create Friendly Ghosts From Old Bed Sheets
One of my favorite projects started with an old white sheet that was headed for the donation pile.
The first version wasn’t great.
I tied the fabric too tightly around the foam ball, making the ghost look more like a giant mushroom than floating fabric. After loosening the material and trimming uneven edges, it looked much more natural.
To make simple ghosts you’ll need:
- Old white sheets
- Foam balls
- Fishing line
- Black felt
- Hot glue
- Shepherd hooks or tree branches
Suspend the ghosts at different heights so they appear to float whenever the wind moves them.
Battery operated fairy lights tucked inside the fabric create a soft glow after sunset without dealing with extension cords.
The entire project cost me less than $20 because most supplies were already in the garage.
Budget Alternative
Instead of foam balls, crumpled newspaper wrapped with masking tape works surprisingly well for lightweight ghosts.
3. Paint Pumpkins Instead of Carving Them
Carved pumpkins look great for a few days, but Colorado’s dry air and warm afternoons often cause them to wrinkle faster than expected.
Painting pumpkins lasts much longer.
I painted faux pumpkins survive several seasons with only minor touch ups.
Popular colors this year include:
- Matte black
- Warm cream
- Olive green
- Burnt orange
- Soft beige
Rather than covering every pumpkin with complicated artwork, keep the designs simple.
Small bats, stars, moons, house numbers, or subtle stripes give pumpkins personality without looking busy.
My Biggest Mistake
One year I skipped primer and painted directly onto glossy faux pumpkins.
Within a week the paint started peeling.
After another trip to Home Depot, I bought a plastic bonding primer for around $9. That extra step made a huge difference.
Now every painted pumpkin lasts much longer.
Budget Alternative
Craft paint from Michaels works well for decorative pumpkins and costs only a few dollars per bottle.
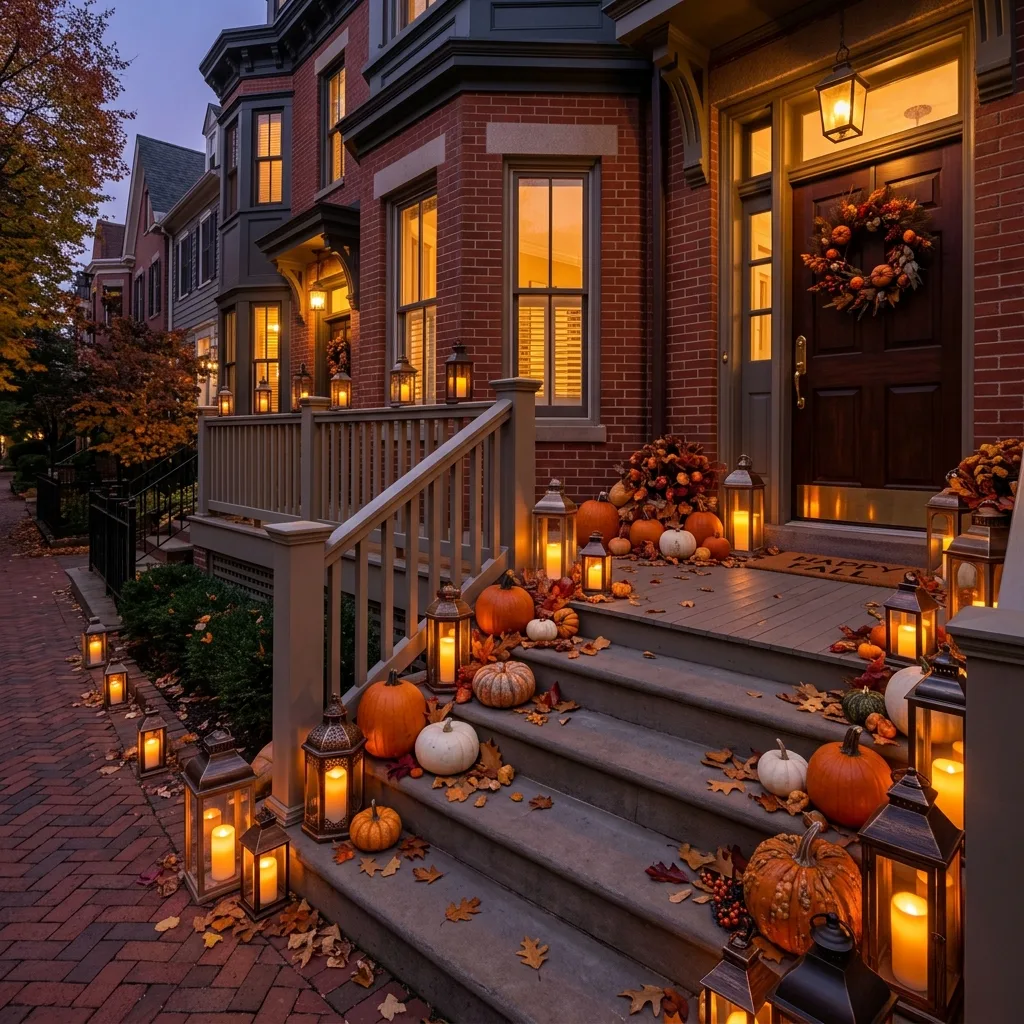
4. Make DIY Lantern Displays for Evening Curb Appeal
Outdoor lighting changes everything once the sun goes down.
Instead of relying on bright floodlights, create small pockets of warm lighting.
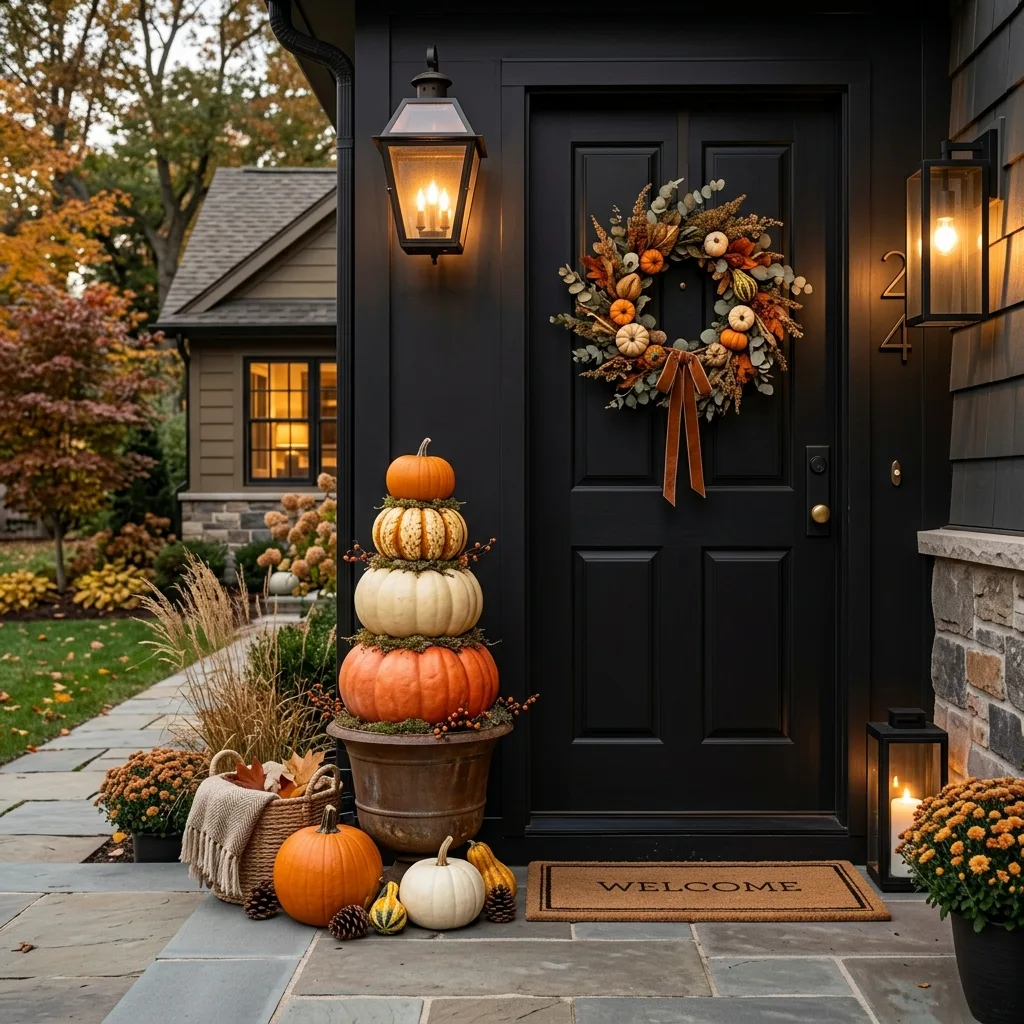
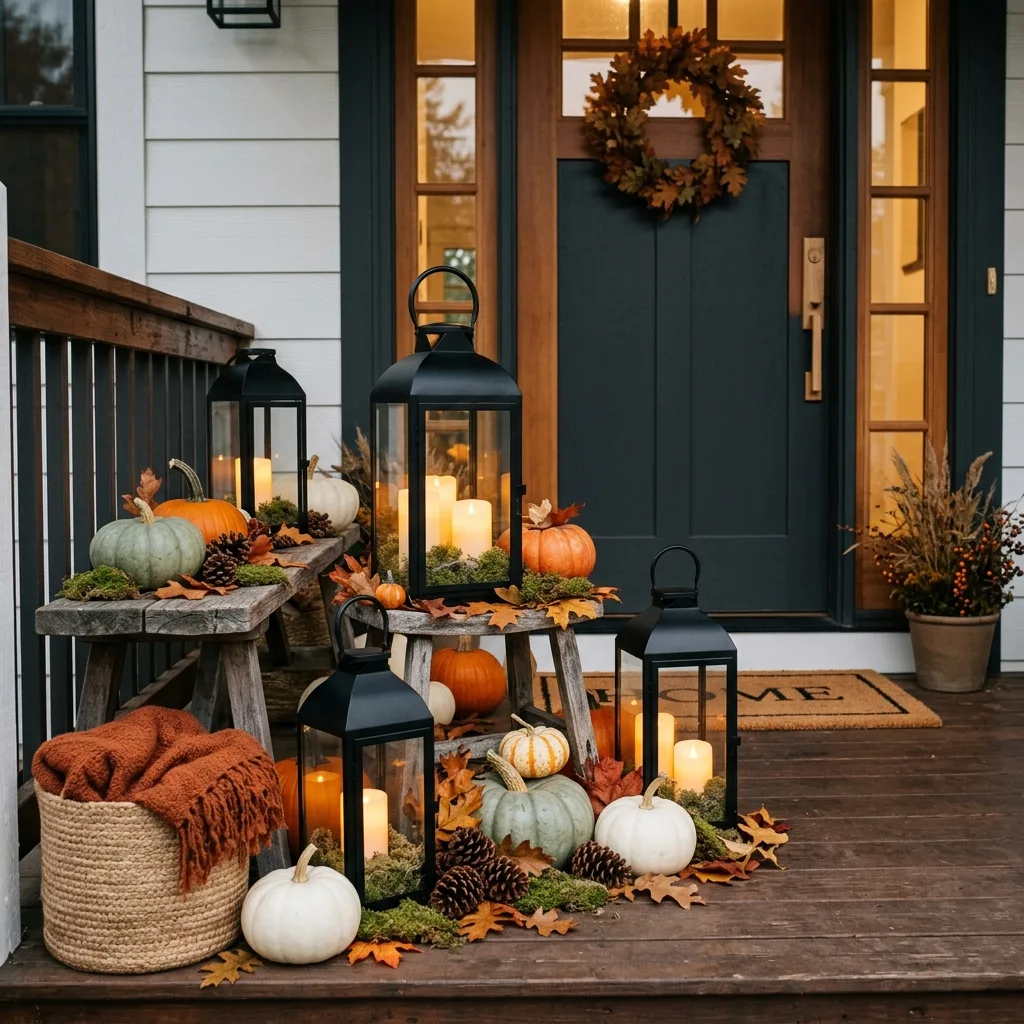
I usually group three lanterns together near the front door.
Inside each lantern I place batter operated candles with timers. They automatically switch on every evening, which saves remembering to turn them on manually.
For a DIY Outdoor Halloween touch, surround each lantern with:
- Mini pumpkins
- Faux moss
- Small branches
- Artificial ravens
- Pinecones
Battery candles generally cost $18 25 for a multi pack and can be reused throughout the holidays.
DIY Lantern Upgrade
One weekend I glued small wooden bats around the base of a plain lantern.
The first attempt looked uneven because I rushed the spacing.
After removing the bats and measuring the gaps with painter’s tape, the finished lantern looked much cleaner.
Little details like this make inexpensive décor look more custom.
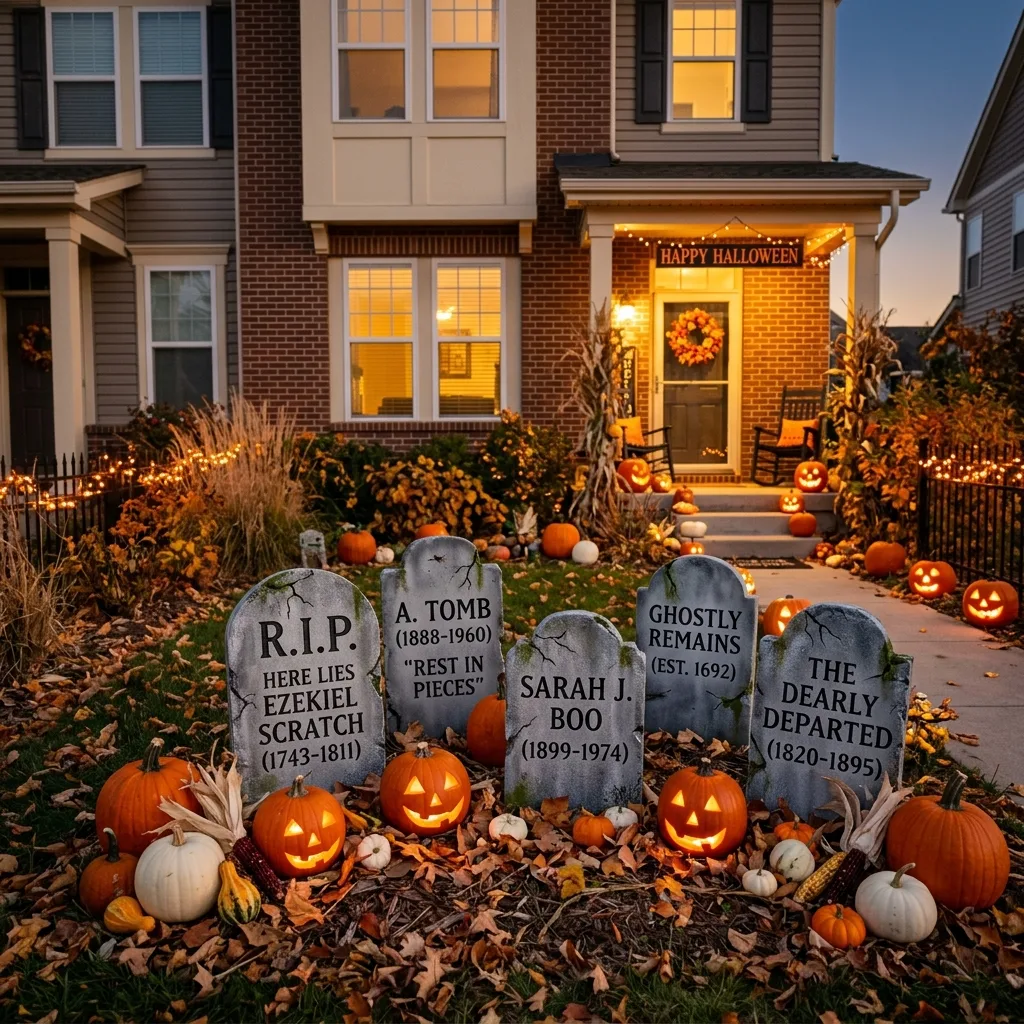
5. Build Lightweight Tombstones That Survive Wind Better
Foam insulation board much easier to work with than plywood.
It’s lightweight, inexpensive, and simple to cut using a utility knife.
My first cardboard tombstones didn’t survive an afternoon of strong wind before folding over.
Foam board solved that problem.
After cutting the shapes, I painted everything with gray exterior paint left over from another project.
Adding black dry brushed details created an aged stone appearance without much effort.
Secure Them Properly
Instead of pushing the foam directly into the ground, attach each piece to wooden stakes using construction adhesive.
Allow the adhesive to cure overnight before placing them outdoors.
This small step makes the decorations much more stable.
Budget Alternative
Foam insulation sheets from Home Depot generally cost around $15 25 and make several tombstones.
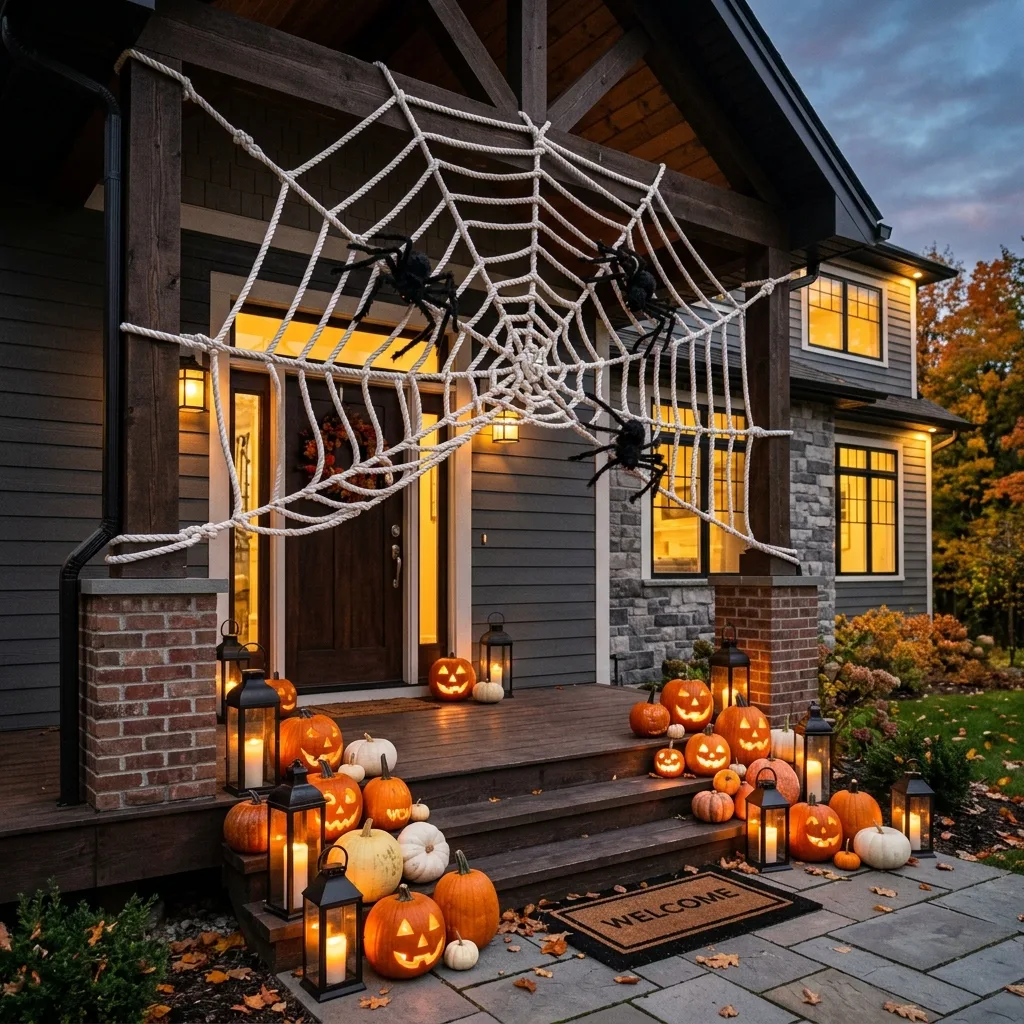
6. Craft a Giant Spider Web for Your Porch or Entryway
A giant spider web one of those decorations that looks expensive from the street but costs surprisingly little to make yourself. It also works well for townhouses because it draws the eye upward instead of taking up valuable floor space.
Last October, I stretched white rope across one corner of our porch railing and up to the ceiling. At first, I pull the rope tight enough, and the web sagged after the first windy day. I took everything down, used heavier duty zip ties, and kept the lines under tension while attaching each section for DIY Outdoor Halloween decoration. The difference noticeable immediately.
To build your own web, you’ll need:
- White rope or thick outdoor twine
- Heavy duty zip ties
- Scissors
- Large plastic spiders
- Outdoor command hooks (if drilling isn’t an option)
Start with the main support lines, then weave smaller circles between them. Don’t worry about making it perfectly symmetrical. Real spider webs have irregular shapes, which actually makes the finished project look more realistic.
Budget Alternative
Instead of buying oversized spiders, paint inexpensive plastic spiders with matte black spray paint from Home Depot for a cleaner, less shiny appearance.
7. Turn Old Planters Into Halloween Displays
If you already flower pots on your porch, don’t store them away for the season. They can become part of your Halloween decorations.
After removing summer flowers, I filled our planters with:
- Faux black branches
- Mini pumpkins
- Dried ornamental grass
- Pinecones
- Battery powered string lights
The arrangement looked much fuller than I expected and only cost around $25 because I reused the existing pots.
Colorado’s dry climate can damage fresh branches quickly, so I usually mix natural materials with artificial stems from Michaels or Hobby Lobby. That combination lasts through Halloween without constant maintenance.
Add Height
Tall branches make a porch feel decorated without blocking the walkway. On a narrow townhouse entry, vertical decorations are much more practical than wide displays.
Budget Alternative
Five Below often carries seasonal stems and decorative picks for just a few dollars each.
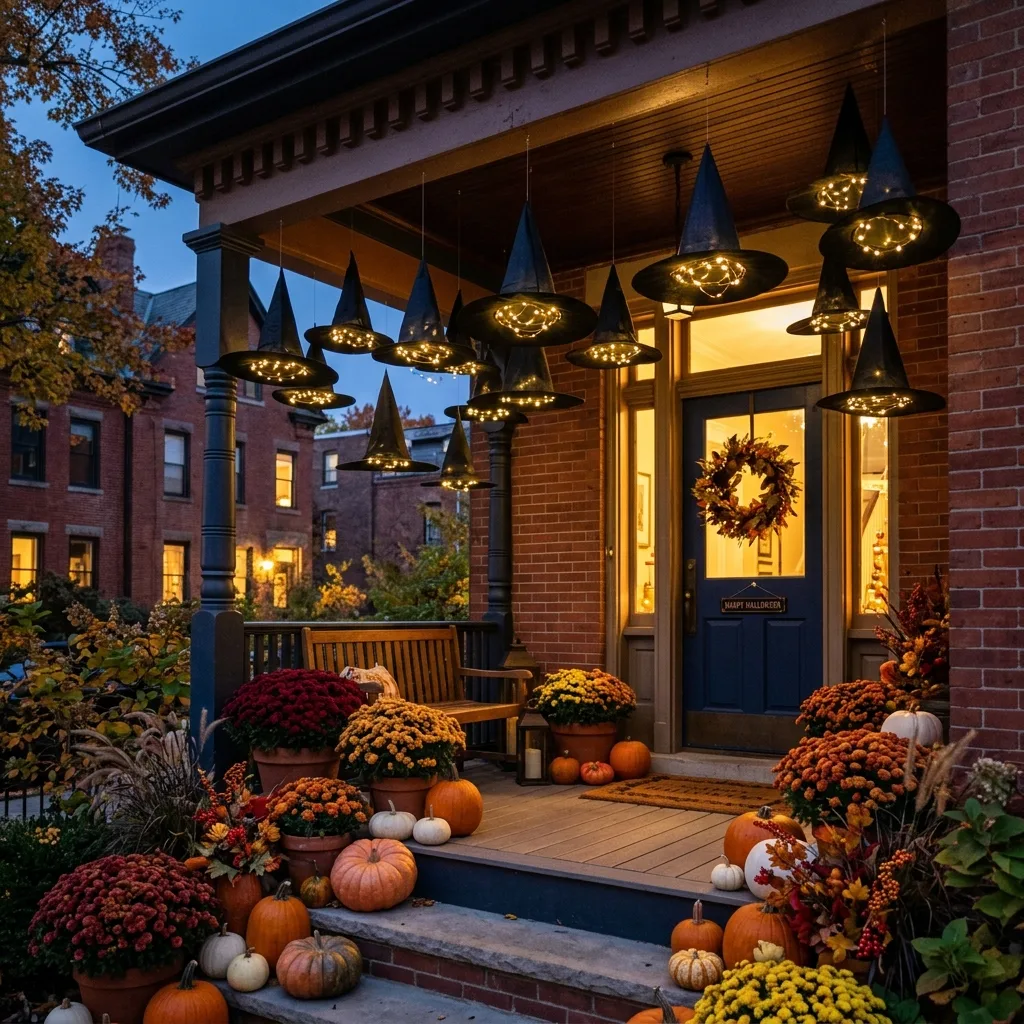
8. Make Floating Witch Hats With LED Lights
Floating witch hats have become one of the most popular DIY Outdoor Halloween decoration ideas, and they’re much easier to make than they look.
Materials include:
- Black witch hats
- Fishing line
- Battery operated fairy lights
- Ceiling hooks or tree branches
Wrap the lights around the inside of each hat before hanging them at different heights. During the day, the hats almost disappear against the sky. At night, they create a soft floating effect that looks magical without being overly spooky.
I originally hung every hat at the same height, and the display looked flat. After lowering a few hats and raising others, the arrangement gained much more movement.
Budget Alternative
Dollar Tree hats work just as well if you reinforce the inside with lightweight wire.
9. Create a DIY Halloween Welcome Sign
A handmade welcome sign instantly makes your porch feel more personal DIY Outdoor Halloween .
I use a leftover cedar board from another project, sanded the edges, and painted it matte black. White outdoor paint worked well for the lettering, while orange accents tied everything together.
The first coat looked streaky because the wood absorbed the paint unevenly. After adding a primer and lightly sanding between coats, the finish became much smoother.
Simple phrases work best:
- Happy Halloween
- Enter If You Dare
- Boo!
- Welcome, Witches
Pair the sign with pumpkins and lanterns instead of letting it stand alone.
Budget Alternative
Plywood scraps from a home improvement store can cost under $10 and work just as well as cedar for seasonal décor.
10. Add Soft Outdoor Lighting for the Final Touch
Lighting what brings all the decorations together once the sun sets.
Rather than placing lights everywhere, focus on a few key areas:
- Around the front door
- Along porch railings
- Inside lanterns
- Around pumpkins
- Behind ghost decorations
Warm white and amber lighting usually looks more inviting than bright blue or flashing colors.
Because our townhouse has limited outdoor outlets, I prefer battery operated lights with timers. They’re easy to install and don’t leave extension cords running across the walkway.
Always use lights rated for outdoor use, and follow the manufacturer’s instructions. If you’re adding electrical decorations or modifying outdoor wiring, consult a licensed electrician to make sure everything installed safely.
What I’d Do Differently After Decorating for Several Halloweens
Looking back, I made plenty of mistakes that taught me valuable lessons for DIY Outdoor Halloween decoration.
The biggest one was buying too many DIY Outdoor Halloween decoration before deciding on a theme. My porch ended up looking cluttered instead of welcoming.
Another mistake was choosing DIY Outdoor Halloween decoration based only on how they looked indoors. Colorado’s intense sunshine faded inexpensive fabrics much faster than I expected, and one hailstorm cracked several plastic decorations that weren’t designed for outdoor use.
Now I plan everything before shopping.
I decide on a color palette, measure the porch, and choose only decorations that fit the available space. Mixing reusable pieces with a few fresh pumpkins each year keeps costs under control while making the display feel different every season.
I’ve also learned that less cleanup in November always worth it. Durable materials, weather-resistant paint, and battery powered lighting save time throughout the month.
Most importantly, I no longer feel pressure to decorate every inch of the yard. A thoughtfully arranged porch with handmade decorations often feels more inviting than a lawn packed with inflatables.
Make This Halloween One to Remember
Decorating outdoors doesn’t have to mean spending hundreds of dollars on store bought displays. A handful of DIY projects, a realistic budget, and a little creativity can completely change the look of your home’s exterior.
Some of my favorite decorations started as leftover supplies sitting in the garage, and a few of the projects that seemed like failures at first turned into the pieces I reuse every October.
If you’re planning your Halloween decorating this year, start with one or two DIY projects, build on them each season, and create a display that fits your home instead of copying someone else’s. That’s the approach that has worked best for our townhouse, and it’s made decorating one of my favorite fall traditions.
Looking for more seasonal decorating ideas? Visit CompactDecorHub for practical DIY projects, budget friendly home inspiration, and creative ways to make every room and outdoor space feel ready for the season.